July 08, 2025

Struggling to nail that perfect wing? You're not alone. Winged eyeliner is one of the most requested tutorials for good reason! Whether you're aiming for a subtle flick or a bold cat-eye, this beginner-friendly guide will walk you through how to do winged eyeliner in simple, achievable steps.
Let’s dive in!
Before we get into the how-to, let’s talk tools. Choosing the right eyeliner can make all the difference when creating a clean, confident wing.
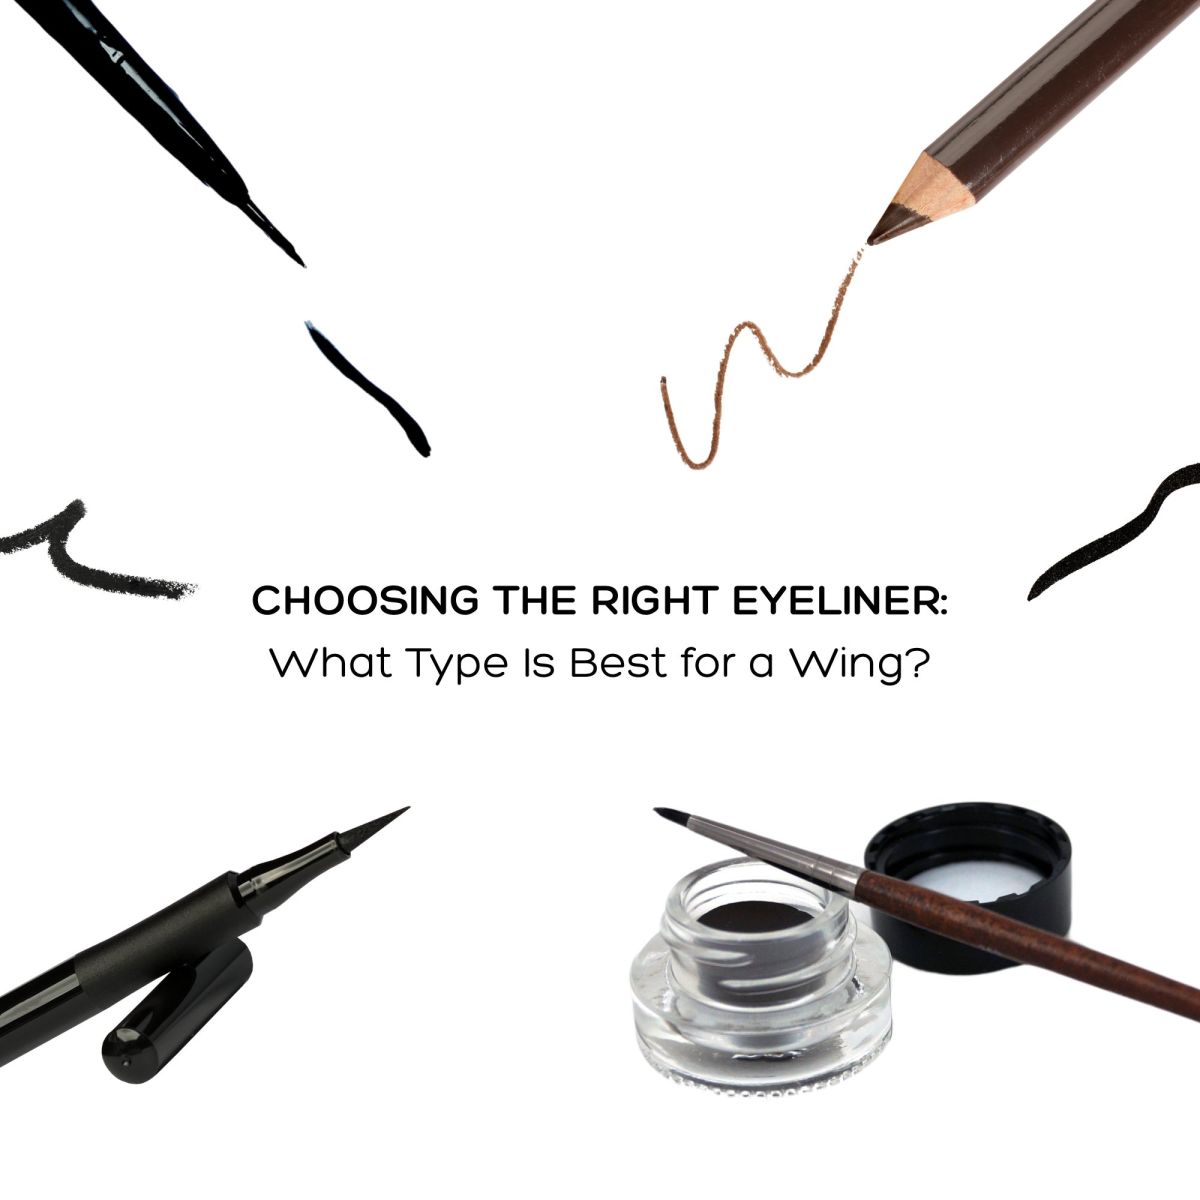
TIP: No matter which type you choose, practice is key. Test out a few styles and see what feels most comfortable for you.
Start by steadying your elbow on a table and using a mirror placed at eye level or slightly below. Keep your eyes relaxed and slightly open. This will help you follow your natural lash line.

Gently apply your eyeliner as close to the upper lashes as possible, starting at the inner corner and gliding outward. To keep the line even, try using the dot method: dot along your lash line and then connect the dots for a smoother finish.
Want a bolder look? Thicken the line slightly as you move toward the outer corner.
Time for the flick! There’s no one-size-fits-all here. Your wing shape can be tailored to suit your eye shape and personal style.
For a classic cat-eye, imagine extending your lower lash line out and upward. You can use a straight edge (like the handle of a makeup brush) to guide the angle, then mark where you want the wing to end.

Alternatively, try the sticky tape hack:
Let it dry before peeling off the tape for the cleanest edge.
Draw a line from the tip of your wing back toward the main line on your upper lash. This should create a small triangle shape.

Fill in that triangle using short, gentle strokes. For extra precision, connect the wing about three-quarters of the way along your lash line, then give a final flick to finish the tip sharp and refined.
Made a mistake? No stress! Once your eyeliner is fully dry:
This step is a total game-changer for creating clean, crisp wings.

Bonus Tip: Try a Pointed Inner Corner
If you're feeling confident, add a pointed inner corner to elongate your eyes even more. Use the same technique as your wing, light pressure, clean strokes, and a steady hand.
Now that you know how to apply winged eyeliner step by step, it’s time to practice and make the look your own. Whether you're keeping it simple or going full glam, the perfect wing is always within reach.
What’s your go-to eyeliner product? Let us know in the comments below. And if you're showing off your winged look on socials, don’t forget to tag us and use #MODELROCKFeatureFridays for your chance to be featured!
Just like your clothes, hair, and jewellery, your makeup is a powerful form of self-expression. At the heart of it is yo...
KEY TAKEAWAYS ⚡ “Less is more” leads 2022 beauty trends: Natural, stripped-back makeup focuses on enhan...