October 08, 2025

If you are just beginning your makeup journey, it can feel overwhelming to know where to start. The good news is that you do not need an overflowing makeup bag or years of practice to create a polished look. The key is to keep things simple, focus on a few versatile products, and build confidence step by step. In 2025, makeup trends are leaning towards soft-focus skin, flexible brows, and juicy lips, which makes this the perfect time for beginners to experiment without pressure.
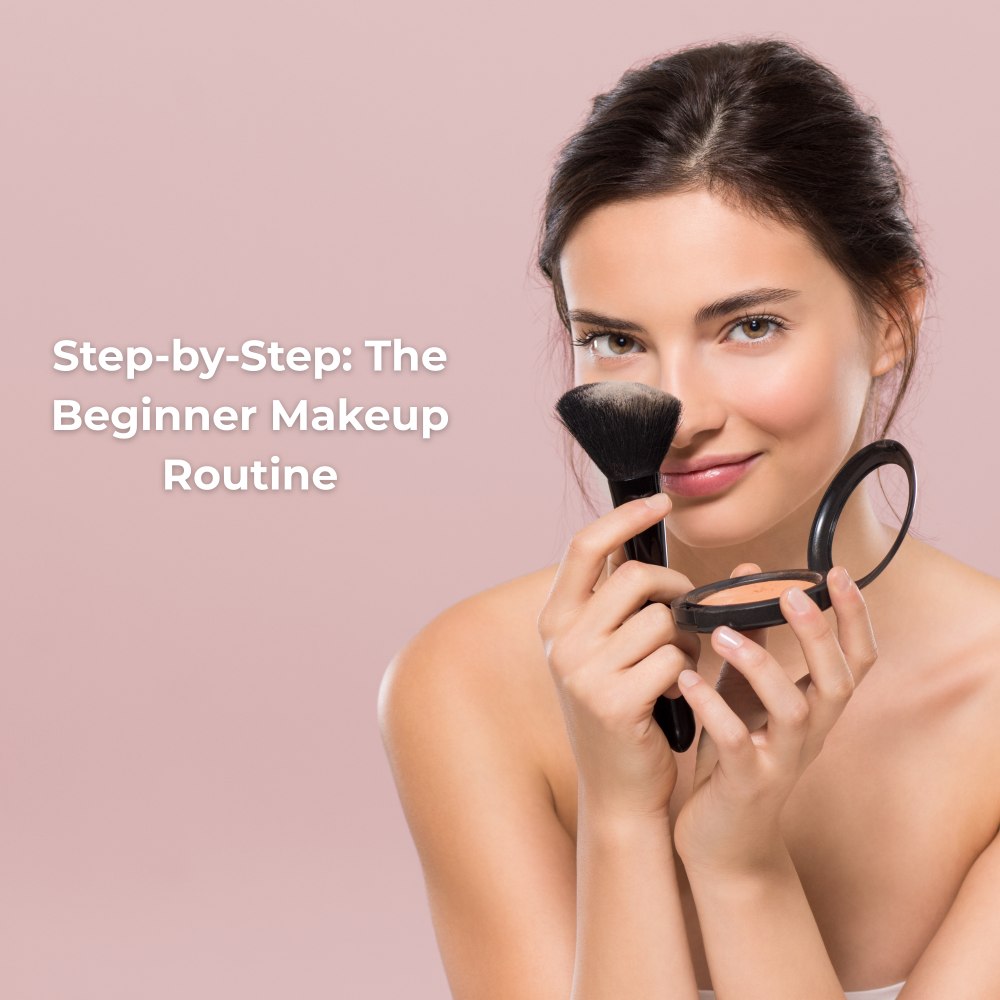
This guide will walk you through how to apply makeup step by step, from skincare prep to the final setting spray. You will also find tips on choosing the right products, adapting your routine to your skin type, and avoiding common beginner mistakes. Think of it as a friendly manual that you can follow along with while practicing at home.
When you are new to makeup, it is tempting to buy everything at once. In reality, a small but smartly chosen kit is all you need to get started. A lightweight base product such as a skin tint or light foundation is perfect for evening out your complexion without looking heavy. Concealer is another essential, ideally one shade that matches your skin tone and another that is slightly brighter for the under-eye area.
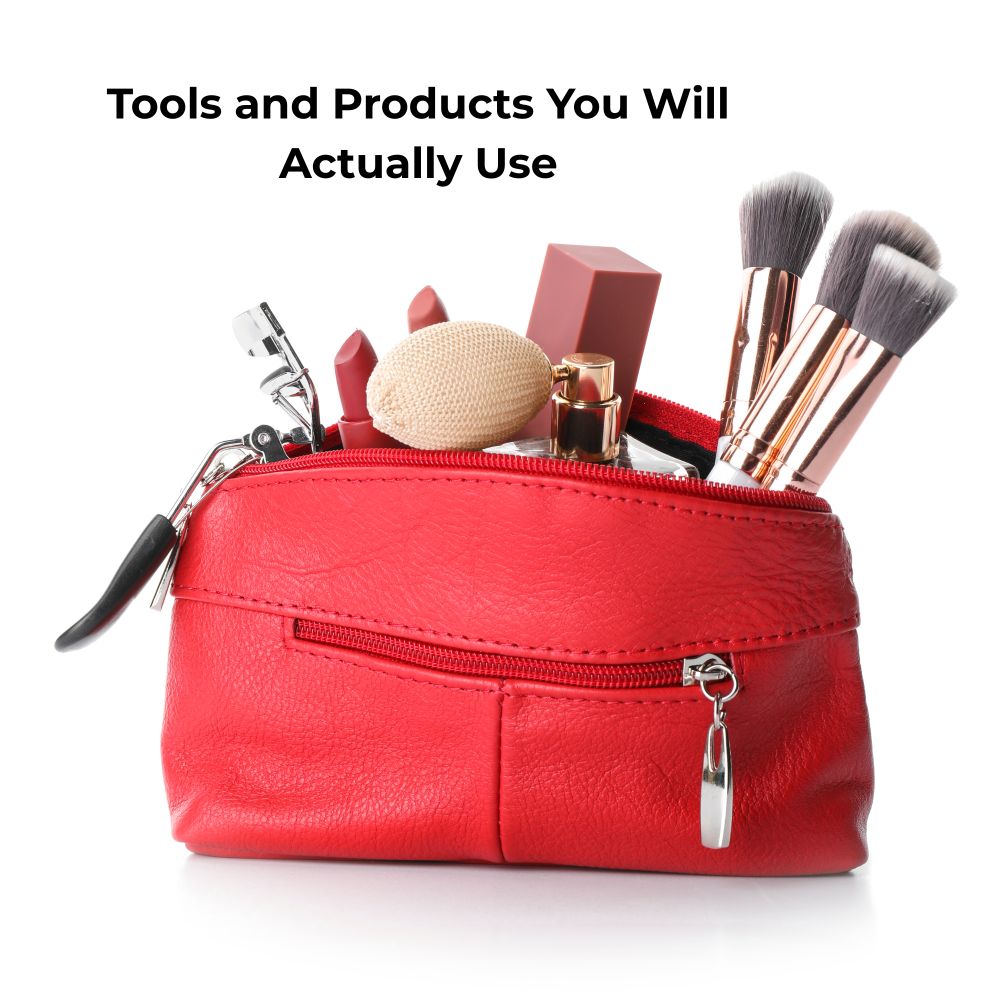
To keep your makeup in place, a translucent pressed or loose powder will do the job, and you can finish with a setting spray if you like extra staying power. For brows, choose a fine-tip brow pencil and a clear brow gel to create soft, natural definition. On the eyes, a neutral eyeshadow, a good mascara, and a set of press-on or cluster lashes are more than enough to get you started. For cheeks, cream blushes and bronzers are beginner-friendly because they blend easily and create a seamless finish. Finally, for lips, you can keep things simple with a nourishing balm, a lip liner, or a stain that gives long-lasting colour with shine.
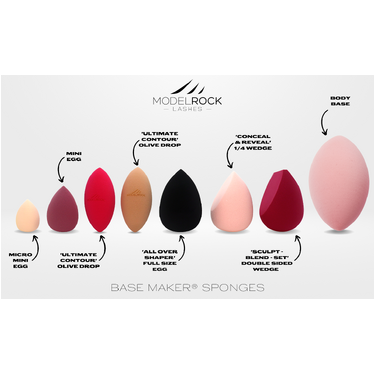
Do not forget your tools. A sponge and a buffing brush will help with blending your base, while a spoolie, lash curler, and tweezers are handy for brows and lashes. Keeping a brush cleaner and reusable remover pads in your kit will also make your routine more hygienic and sustainable.
Every great makeup look begins with skincare. Wash your face with a gentle cleanser suited to your skin type, then apply a lightweight moisturizer. This will create a smooth, hydrated canvas for the rest of your makeup. In the morning, always finish with sunscreen of at least SPF 30. Even if your foundation contains SPF, it is not enough protection on its own, so a dedicated sunscreen is a must. Allow a couple of minutes for your skincare to settle before moving on.
Primer can help your makeup last longer, but it is not essential if you are just starting out. If you have dry skin, try a hydrating primer that will add an extra layer of moisture. If you have oily skin, a mattifying or gripping primer will help to control shine and keep your base in place. Apply a small amount with your fingertips and blend it evenly over your face. Less is more here.
Next comes your foundation or skin tint. Skin tints are especially popular right now and are perfect for beginners because they offer a sheer, natural finish that is easy to blend. Foundations will give you more coverage if you want it. To apply, place a small amount of product onto the back of your hand, then pick it up with a brush or sponge. A brush will give you a more polished, full-coverage effect, while a damp sponge will create a softer, more natural look. Whichever you choose, blend the product across your face and down your neck so there are no visible lines.
Finding the right shade is one of the trickiest parts for beginners. The best way to test is to swipe a little along your jawline and onto your neck in natural light. The shade that disappears into your skin without looking too light or too dark is the one for you. Pay attention to undertones too. If your skin looks better in silver jewellery, you may have a cool undertone. If gold jewellery flatters you more, you may be warm. If both look good, you are likely neutral.
If you feel ready to experiment, you might want to try underpainting. This technique has become a big trend in 2025 and is surprisingly beginner-friendly once you get the hang of it. The idea is to apply cream blush and bronzer before your foundation or skin tint. When you layer your base on top, the colours show through in a soft and natural way, giving you dimension without harsh lines. It is a great way to achieve a sculpted yet effortless finish with fewer products.
Concealer can do two jobs in your routine. A concealer that matches your skin tone is perfect for covering blemishes, redness, or dark spots. A second concealer that is one or two shades lighter can be used to brighten the under-eye area and highlight parts of your face. Apply small dots where needed and use a mini sponge or the tip of your finger to blend. Remember to blend gently and take your time. Less is more, and you can always add another thin layer if you need it.
Once you have applied your liquid and cream products, it is time to set them so they last. Powder helps to prevent creasing and shine, but it should be used thoughtfully. Take a fluffy brush and gently press a translucent powder onto areas where you tend to get oily, such as the T-zone, around the nose, and under the eyes. Avoid sweeping the brush across your face, as this can disturb the foundation underneath. Instead, press the powder into the skin with light tapping motions. If you like a more glowy finish, leave the cheeks and outer parts of the face powder-free. For touch-ups throughout the day, a pressed powder is convenient to carry, while a loose powder is great for applying at home.
Brows can completely change the look of your face, so it is worth taking a little time here. Start by brushing your brows upwards with a spoolie so you can see their natural shape. Then, use a fine-tip brow pencil to add hair-like strokes in the sparse areas. This will give you definition while still looking soft and natural. Once you are happy with the shape, brush through with a clear brow gel to hold the hairs in place. Remember, modern brows are all about being airy and feathered, not overly drawn or blocky.
For beginners, eye makeup does not need to be complicated. A single wash of neutral eyeshadow across the lid will add depth without much effort. If you want to go a step further, try adding a thin line of eyeliner close to the lash line or a soft wing. Curl your lashes and apply a coat or two of mascara to open up your eyes. If you want to experiment with false lashes but find full strips intimidating, start with press-on or cluster lashes. These are quicker to apply and instantly make your eyes look more polished. MODELROCK’s beginner-friendly press-ons and latex-free adhesives are excellent options to try.
Blush is one of the fastest ways to bring life to your face. Cream blushes are especially beginner-friendly because they blend easily and give a natural finish. Smile gently and dab a small amount onto the tops of your cheeks, blending upwards towards the temples. Placing blush higher on the cheekbones creates a lifted effect, while sweeping a little across the bridge of the nose gives a sun-kissed look. You can also layer a powder blush on top if you want the colour to last longer. Bronzer can be added to warm up the complexion, and highlighter can be placed on the tops of the cheekbones, the brow bone, and the cupid’s bow for a subtle glow.
Lips are the final touch to your look. If you are just starting out, a tinted balm is an easy option that adds both colour and hydration. Lip stains are very popular in 2025 because they give a glossy finish while lasting longer than traditional glosses. To add more definition, lightly line your lips with a liner that is close to your natural lip colour, then fill in with your chosen product. The result is a comfortable, juicy finish that feels fresh and modern.
To complete your routine, use a setting spray to lock your makeup in place. Hold the bottle about 30 centimetres from your face and spritz lightly in an X and T motion to cover all areas. Let it air dry without touching your face. For long days, carrying blotting sheets or a small compact powder in your bag will help you refresh your look when needed.
Everyone’s skin is different, so it is important to adjust your products to suit you. If you have oily or combination skin, a mattifying primer and setting powder in the T-zone will help to control shine. Those with dry or dehydrated skin will benefit from hydrating bases and creamy textures, using powder only where it is necessary. If your skin is sensitive, look for fragrance-free formulas and always patch-test products like lash adhesive or brow gels before applying them fully. See more about contouring for your skin type.

The makeup trends this year are very beginner friendly. Cloud skin, for example, is a soft-focus, semi-matte look that sits between dewy and matte, making the skin look smooth and healthy. Underpainting, which you learned about earlier, is another trend that continues to dominate because it is both flattering and efficient. Natural brows are in, with feathered, airy finishes taking the place of heavily sculpted brows. On the lips, juicy stain hybrids are trending because they combine the shine of gloss with the staying power of a stain.

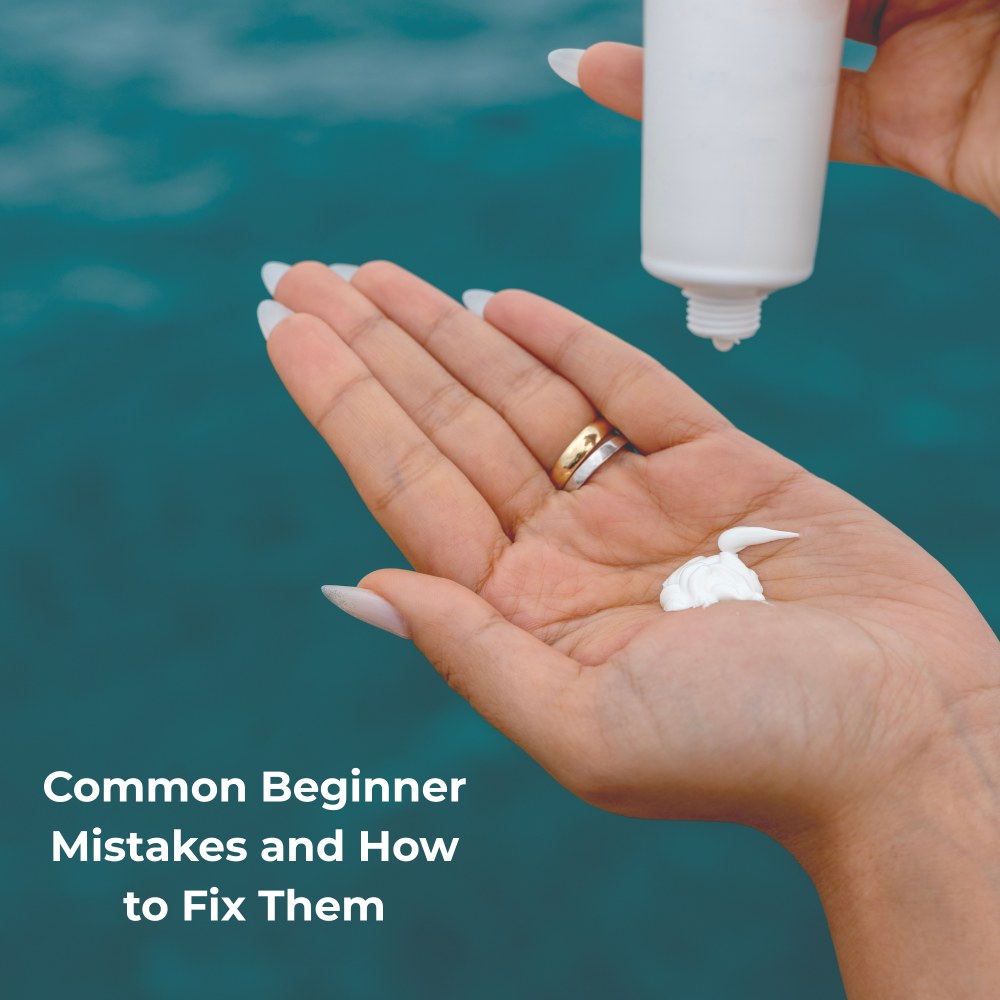
When you are new to makeup, mistakes are part of the process but knowing how to avoid the most common ones will help you learn faster.
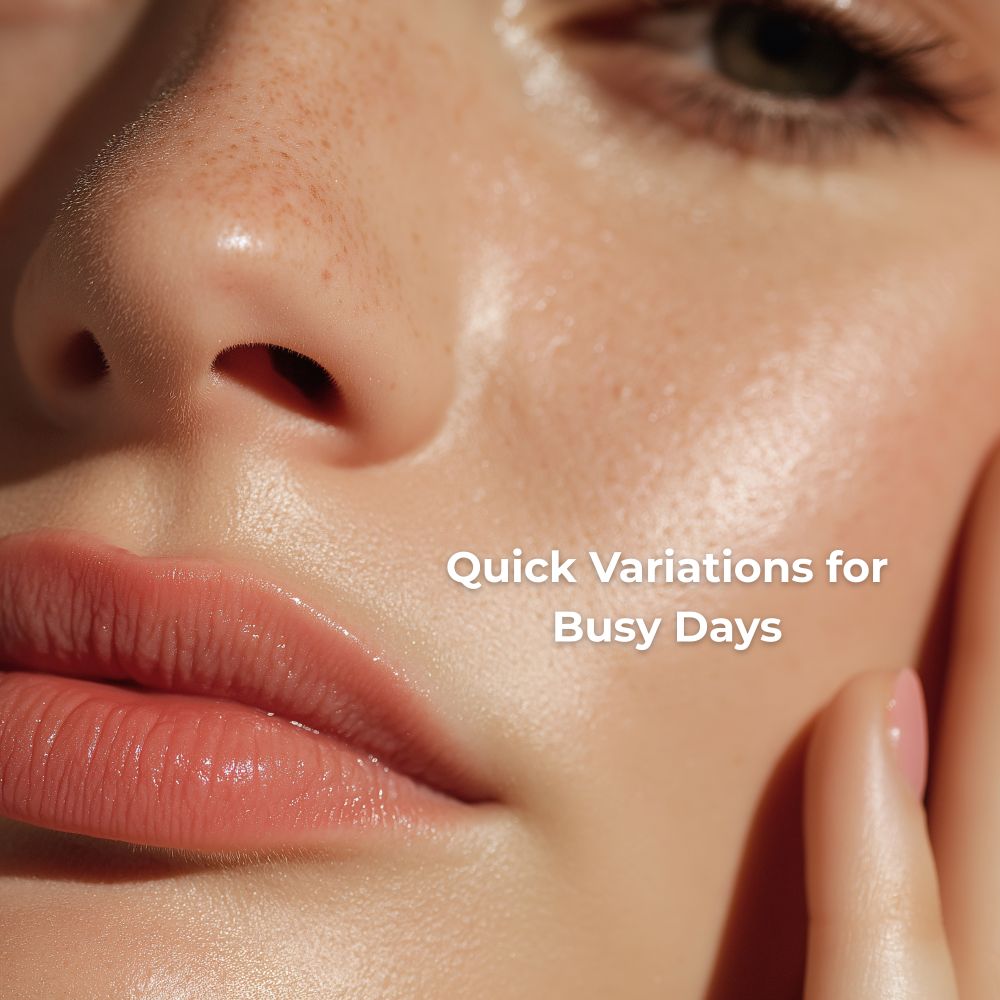
Not every day calls for a full routine. If you only have a few minutes, try a five-minute face: apply a skin tint, brush up your brows, add a touch of blush, and finish with a juicy lip stain. For a Zoom-ready look, use underpainting for quick dimension, apply concealer where needed, set the T-zone with powder, and finish with lip liner and balm.
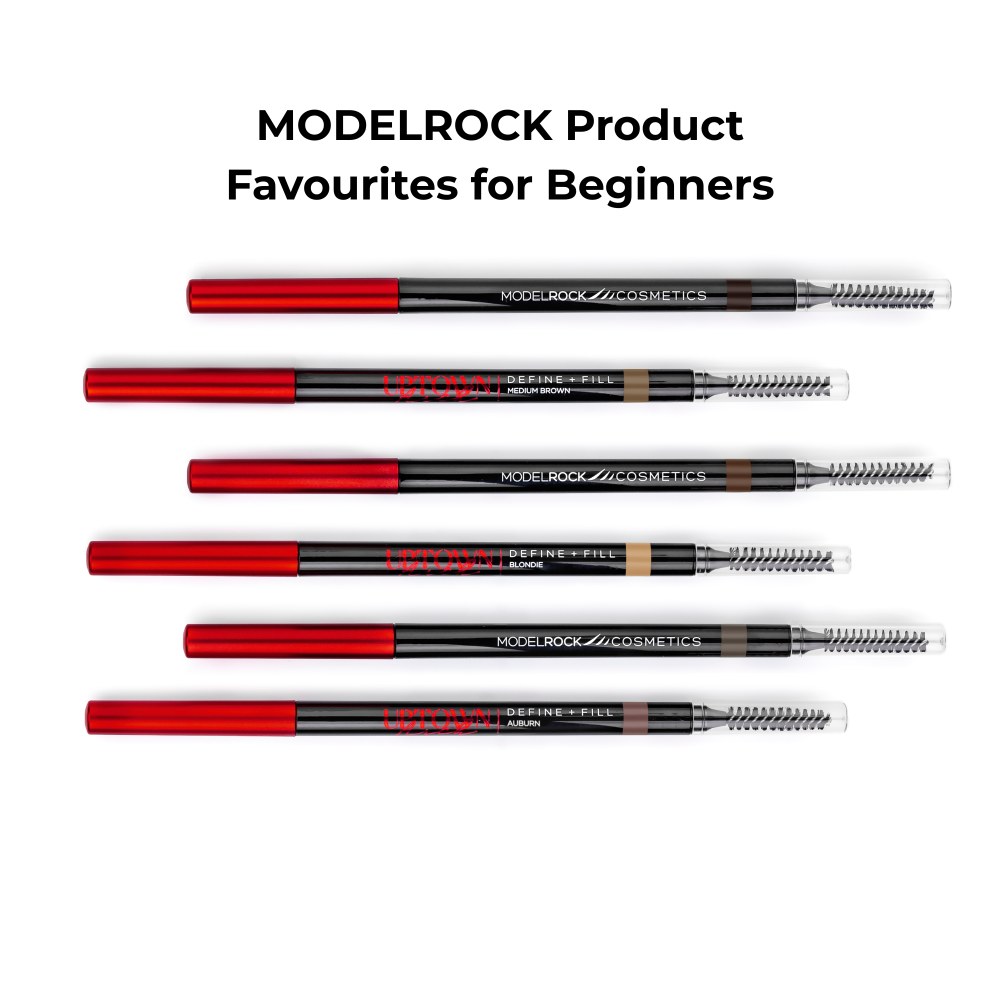
If you are ready to start building your kit, MODELROCK has tools and products to make the process easier. The Base Maker sponges and brushes create a seamless foundation finish, while the mini sponge is perfect for precise concealer application. For brows, the Define + Fill micro pencil and Brow Gel make creating soft, natural brows simple. For eyes, try MODELROCK’s press-on or cluster lashes paired with their latex-free adhesives, which are designed with beginners in mind. To keep everything hygienic, their remover pads and brush cleaner are great additions to your kit.
A simple beginner routine includes prepping the skin, applying a skin tint or foundation, concealing where needed, setting lightly with powder, shaping brows, adding a touch of blush, finishing with lips, and setting with spray. You can add mascara or lashes when you are ready.
Start small with three to five products, such as a skin tint, brow pencil, blush, and lip balm. Focus on blending well, using natural light to check your shade matches, and keeping layers thin.
At minimum, a skin tint or foundation, a concealer, a brow pencil and gel, a blush, a lip product, mascara, and one or two simple tools like a sponge or brush are enough to create many looks.
Not always. Powder is helpful if you have oily areas or want to prevent creasing under the eyes, but you do not need to apply it all over your face.
Underpainting is a technique where you apply contour and blush before your base product. Once the base goes on, the colours peek through softly, giving a natural sculpted effect without harsh lines.
Let us know in the comments how many steps you have in your everyday makeup routine! We would love to know.
Glam is the fun part, but systems are how you make a career. This guide breaks down the makeup artistry basics you need ...
MRL4520,MRL4452,MRL9990,MRL3660