November 20, 2025

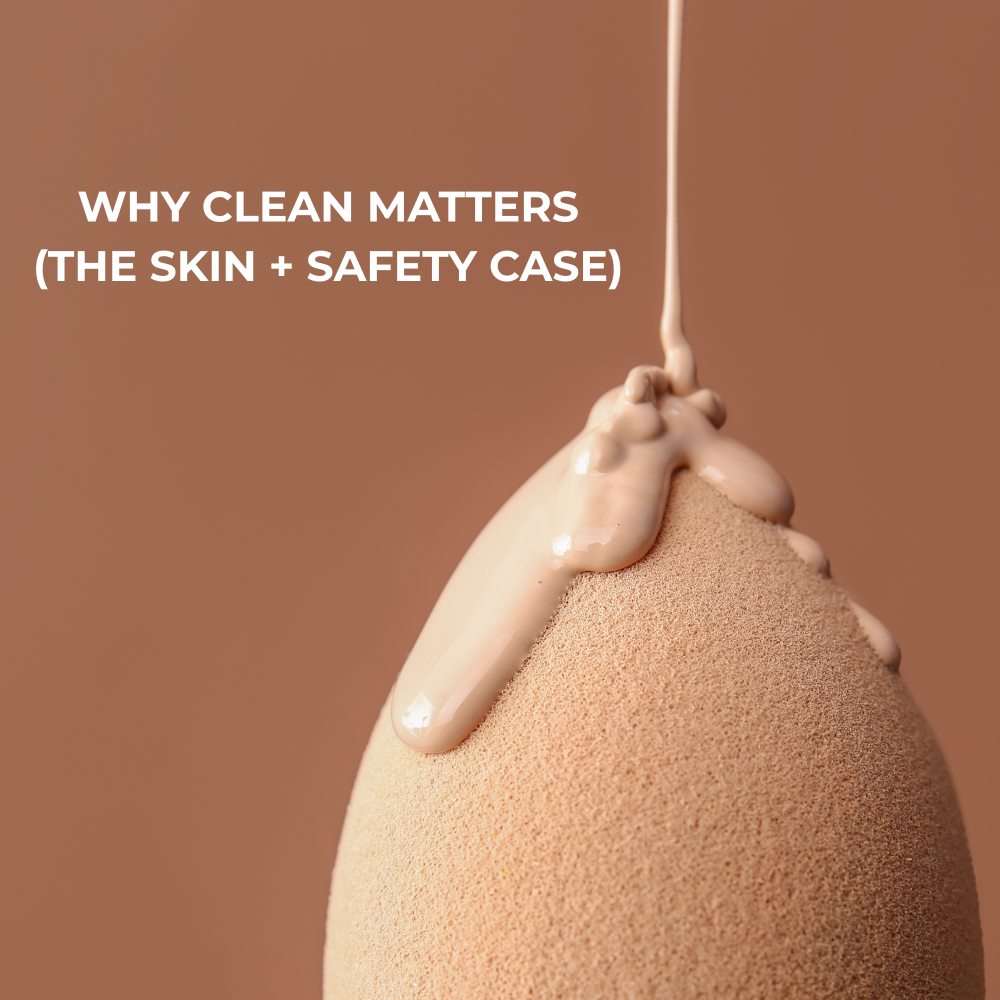
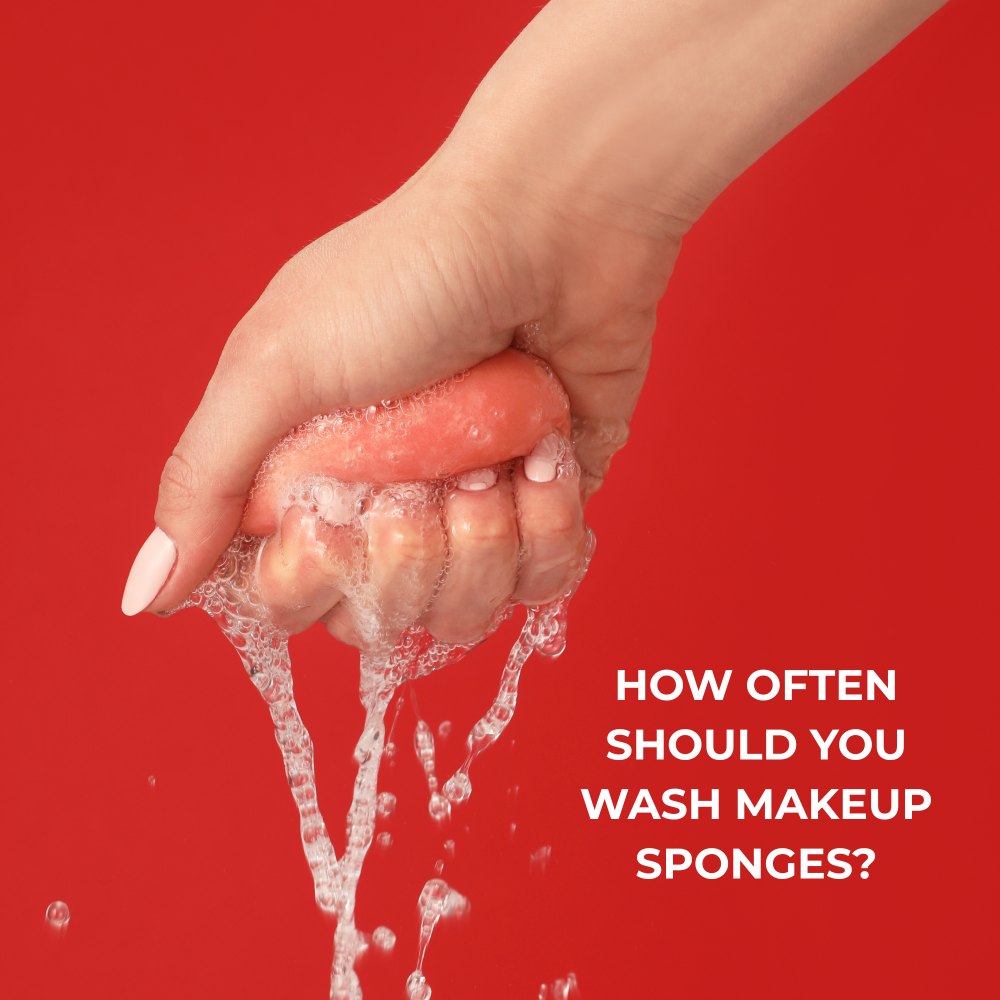
A spotless sponge = smoother blend, fewer breakouts, better wear. This updated routine makes makeup sponge hygiene quick and doable, even for busy mornings. Did you know that around 90% of unwashed makeup sponges contain harmful bacteria like E. coli and Staphylococcus? These microbes thrive in damp, makeup-soaked tools, which means that skipping your cleaning routine could transfer bacteria straight onto your skin. The good news: keeping your tools fresh and safe doesn’t take long when you know the right methods.
Makeup sponges are among the most-used tools in any beauty routine and one of the easiest to overlook when it comes to hygiene. The mix of moisture, makeup residue, and skin oils creates the perfect environment for bacteria and yeast to thrive.
In Australia, while there’s no official rule on how often to wash a makeup sponge, hygiene remains a key safety consideration under AICIS (Australian Industrial Chemicals Introduction Scheme) and TGA (Therapeutic Goods Administration) guidelines. Both highlight the importance of safe cosmetic use and avoiding contamination from unclean tools.
Simply put: dirty sponges don’t just affect your blend. They can irritate skin and spread bacteria. Keeping them clean protects your complexion and your makeup results.
Your ideal cleaning schedule depends on how often you use your sponge and your skin’s needs:
Pro tip: Rotating between two sponges lets one dry fully while you use the other, great for both hygiene and convenience.
A quick-clean keeps your sponge fresh between uses and prevents product from hardening deep inside the foam.
You’ll need:
Steps:
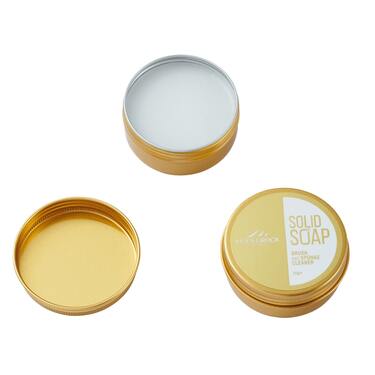
Tip: Keep a Mini Solid Soap Brush & Sponge Cleaner in your travel kit. Its compact tin is perfect for on-the-go touch-ups.
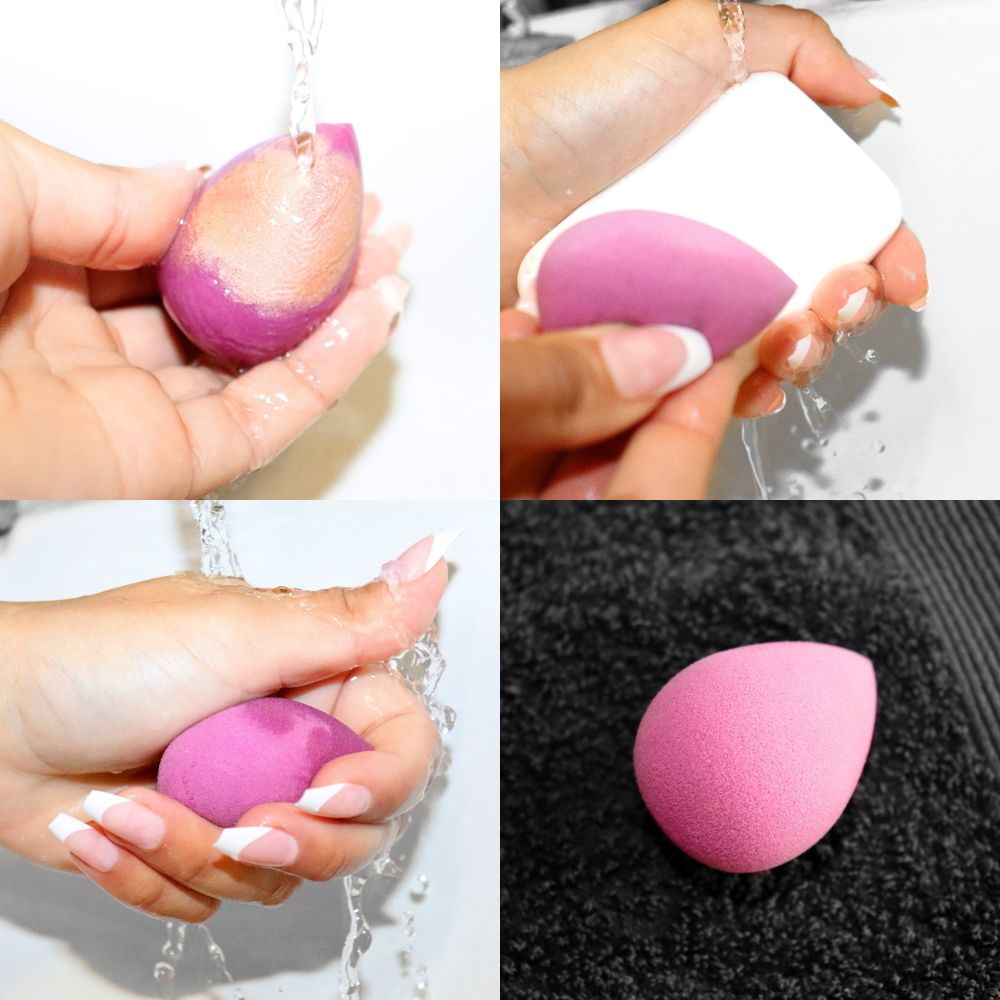
A weekly deep clean gives your sponge a full refresh, removing oils, long-wear foundation, and invisible build-up that daily rinsing can miss.
You’ll need:
Steps:
Pro tip: Avoid extremely hot water or harsh detergents as they can break down sponge fibres faster.
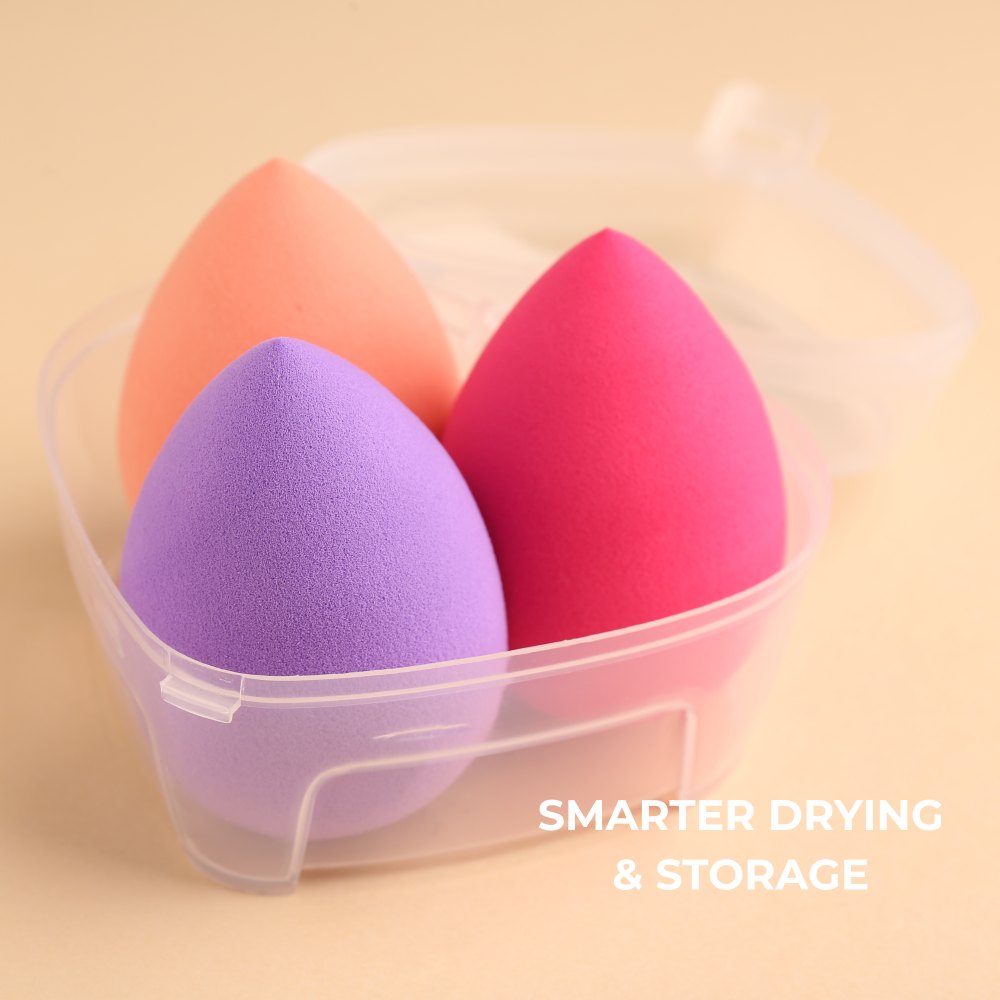
How you dry and store your sponge matters just as much as how you wash it. A damp sponge trapped in a closed makeup bag is a breeding ground for mould.
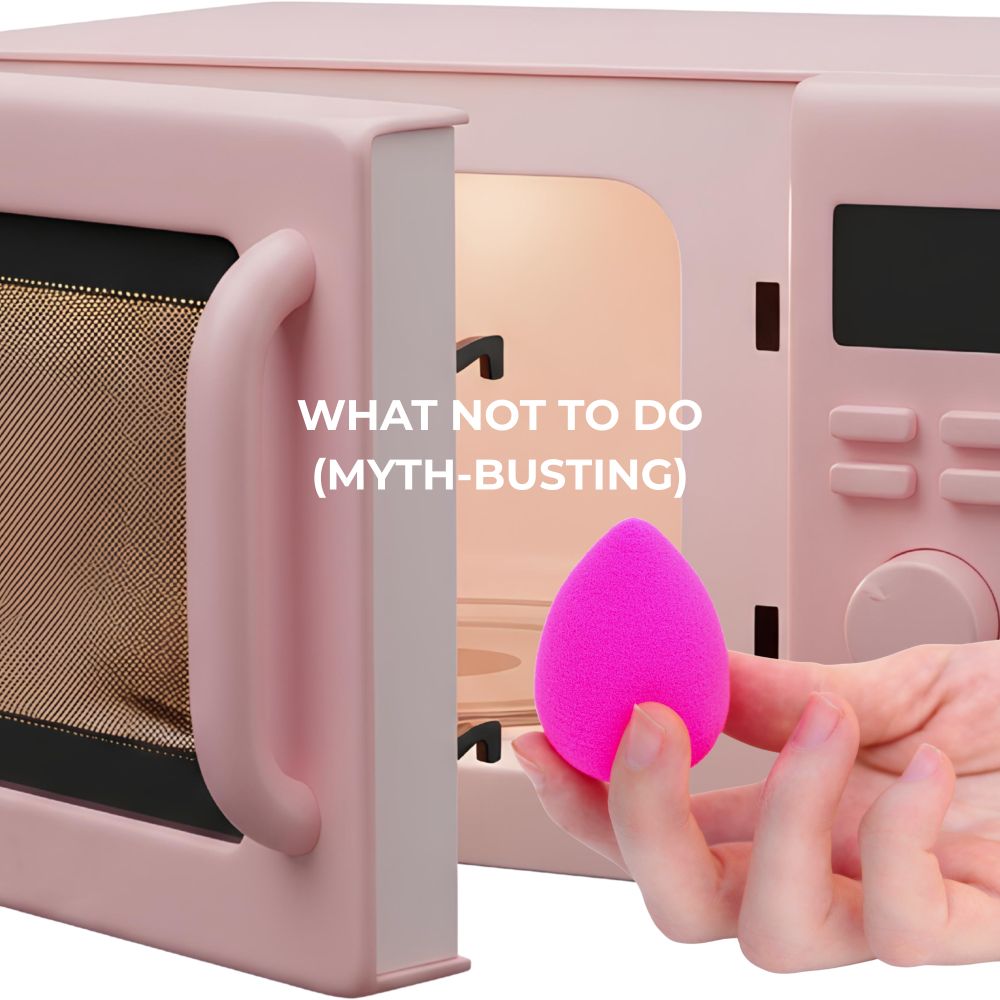
Skip the microwave hack.
It may sound convenient, but microwaving can melt or damage the foam and doesn’t remove product residue effectively.
Don’t soak in alcohol.
It can break down the sponge structure and irritate skin. Stick with cleanser and water.
Avoid aggressive scrubbing.
Twisting or clawing can cause tearing, massage gently instead.
Even with regular cleaning, some stains or odours can linger.
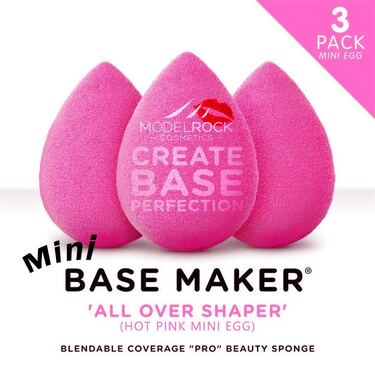
MODELROCK tip: Keep a BULK PRO 3-Pack on rotation so you always have a clean sponge ready to go.
Good makeup tool hygiene extends beyond the sponge itself:
After every use is best. At a minimum, deep-clean weekly to keep bacteria at bay.
It’s likely been stored damp. Let it dry completely in a ventilated space. If the smell persists, replace it.
Not recommended. Heat can damage the foam and doesn’t remove product build-up effectively. Stick with cleanser and warm water.
Yes. Studies show that unwashed sponges can harbour bacteria and yeast. Proper cleaning reduces your risk of irritation and breakouts.
Clean tools mean better application, longer-lasting makeup, and happier skin. With a few smart habits, keeping your makeup sponges in top shape becomes second nature.
Just like your clothes, hair, and jewellery, your makeup is a powerful form of self-expression. At the heart of it is yo...
Wanting to set up a makeup station at home but don't know where to start? Or have a makeup station but feel like it is d...