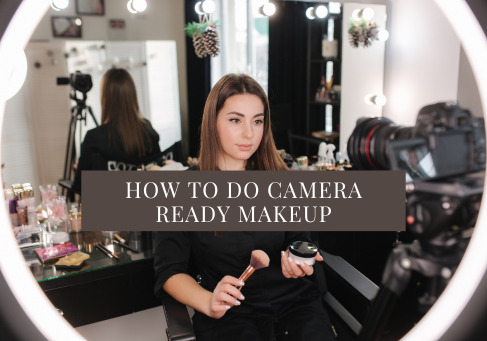
Are you tired of your makeup falling flat and looking less-than-stellar on camera, despite your best efforts? Don't worry; you're not alone! We've all been there, wondering why our makeup doesn't quite translate as beautifully on camera as it does in the mirror. The truth is, achieving that flawless, camera-ready look involves a few tricks of the trade that can make all the difference in your photos and videos.
Whether you're prepping for a special event, a photoshoot, or just want to up your selfie game, we've got you covered. In this beauty blog, we'll walk you through the secrets to mastering camera-ready makeup. You'll discover tips, techniques, and product recommendations that will ensure your makeup looks stunning in every snap and video you take. Say goodbye to flat, undefined looks and hello to a flawless, picture-perfect finish. So, let's dive right in and start capturing your best self through the lens!
KEY TAKEAWAYS
- ⚡ Camera-ready makeup requires preparation and precision: Start with proper skincare and strategic product choices to ensure your makeup translates beautifully on camera without flashback or texture issues.
- ⚡ Eyes define your look: Use soft eyeliner, voluminous mascara, or lightweight false lashes to enhance your natural eye shape. Pair with well-groomed brows for a balanced, polished frame.
- ⚡ Hydrate and prime for a flawless base: Moisturising keeps the skin supple, while primer smooths texture and prolongs wear—creating a seamless, camera-friendly surface for foundation.
- ⚡ Avoid SPF foundations before flash photography: SPF causes flashback, creating a white cast. Opt for a matte, non-SPF foundation and set with translucent powder to control shine and enhance longevity.
- ⚡ Contour, blush, and highlight strategically: Matte bronzers and blush restore definition and dimension that cameras can wash out. Apply highlighter sparingly to high points for a natural glow.
- ⚡ Set everything in place: A good setting spray locks in makeup and helps powders blend seamlessly, ensuring a radiant, long-lasting finish under lights or flash.
- ⚡ Lighting and tools elevate your results: Use soft boxes, ring lights, and reflectors to minimise harsh shadows. The Canon 200D Mark II and Etoile Multi-Glow Duo Light Kit Pro are excellent for professional-level content.
- ⚡ Pro tip for setting spray: Mist your makeup sponge with setting spray and press it gently into the skin to melt products together for an airbrushed, photo-ready finish.
- ⚡ Confidence completes the look: Camera-ready makeup isn’t just about technique—it’s about feeling your best. With the right prep, products, and lighting, you’ll radiate confidence in every shot.
Define, Line & Lash
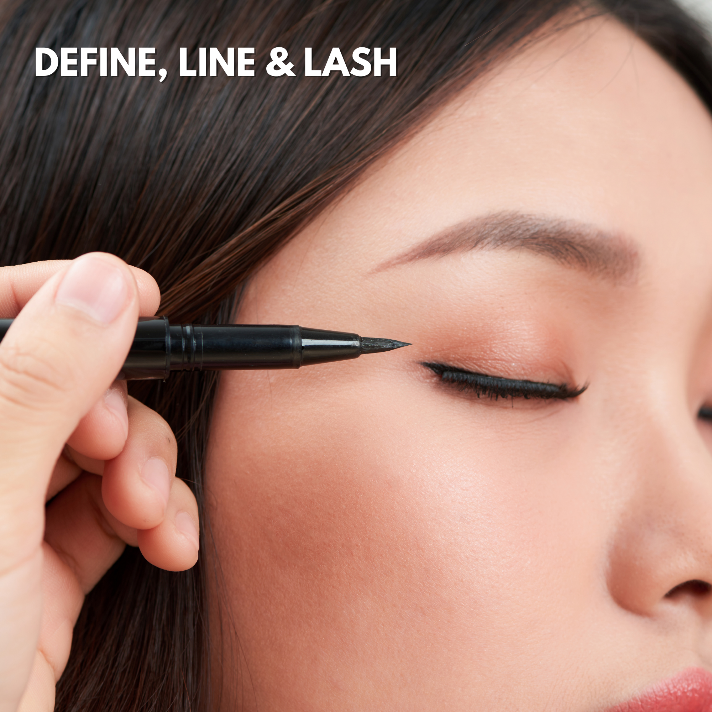
When it comes to achieving a camera-ready makeup look, defining your eyes is key. As the saying goes, "the eyes are the window to the soul," so let's make sure they shine through in all their glory. The good news is that you don't need to go for heavy or overly dramatic eye makeup to make your peepers pop on camera. Instead, it's all about striking the right balance and enhancing your natural beauty.
- Defining with Eyeliner: The first step is to choose the right eyeliner. A gel or pencil liner is often a great choice for a softer, more natural look. Start by lining your upper lash line, as close to the roots of your lashes as possible. This creates the illusion of thicker, fuller lashes. For added drama, you can extend the line slightly past the outer corner of your eye. If you prefer a more subtle look, you can smudge the liner for a smokey effect.
- Luscious Lashes: Your lashes can truly transform your eyes, and there are several ways to achieve that fluttery, camera-ready effect. Consider using an EYELASH CURLER to lift and open up your eyes. Then, apply a coat or two of MASCARA. For a more dramatic look, FALSE LASHES are a game-changer. They add volume, length, and that extra oomph to your eyes. Just make sure to choose lashes that suit your eye shape and the occasion, whether it's natural, wispy, or bold.
- Framing Your Eyes: Don't underestimate the power of well-groomed eyebrows. They frame your eyes and can make a significant difference in your overall look. Consider giving your brows the "UPTOWN BROW" treatment by shaping, filling, and defining them to enhance your natural arch. You can use a brow pencil or powder that matches your hair colour for a polished finish.
Remember, the key to camera-ready makeup is enhancing your features without going overboard. With the right eyeliner, lashes, and brow treatment, you'll have those eyes ready for their close-up, whether you're taking selfies or attending a special event.
Moisturise & Prime
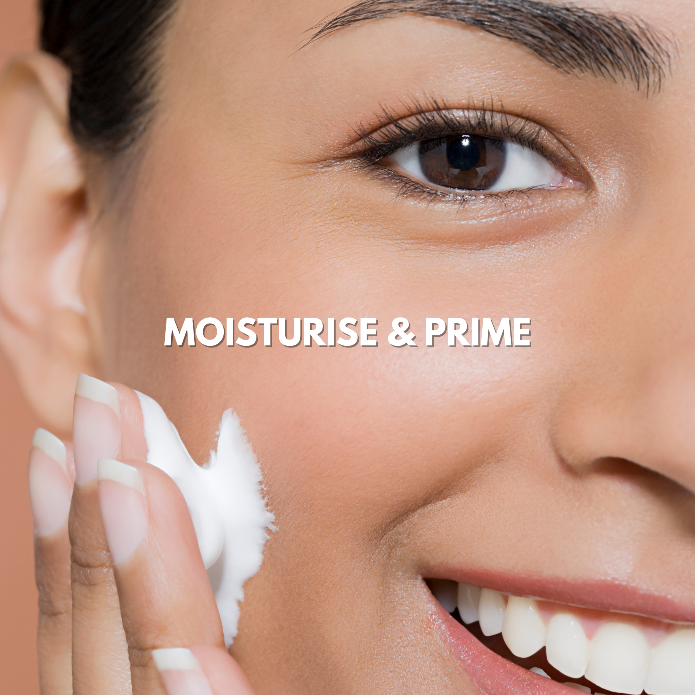
Not to prime is a crime! Achieving that flawless camera-ready makeup begins with a well-hydrated canvas. The last thing you want is for the camera to highlight any dryness or texture on your skin. So, let's dive into the crucial steps for a radiant complexion.
- Prep with Moisturization: After cleansing your face, it's essential to reach for a high-quality moisturizer. Our top pick is the EMBRYOLISSE 24HR MIRACLE CREAM. This luxurious cream is more than just a moisturizer; it's a true multitasker. Its rich, hydrating formula provides the perfect canvas for makeup application. Plus, it's a favourite among makeup artists for good reason. It can double as a primer to create a smooth, even surface for your makeup, making it last longer and look more radiant. Additionally, it serves as a gentle makeup remover, simplifying your beauty routine. Simply apply the cream to your cleansed face and let it fully absorb before moving on to your base makeup.
- The Magic of Priming: Once your skin is thoroughly moisturized, it's time to prime. Think of a primer as the secret sauce that ensures your makeup stays put, blurs imperfections, and minimizes the appearance of pores. Choose a primer that suits your skin type and your makeup goals. If you want a dewy finish, opt for a hydrating primer. For a matte look, go for a mattifying primer. Apply it evenly to your face, paying special attention to areas where makeup tends to wear off faster, like the T-zone.
By following these moisturizing and priming steps, you're laying the foundation for a makeup masterpiece. Your skin will thank you, and the camera will capture your radiant beauty effortlessly. So, let's keep the canvas fresh and ready for the artistry that's about to unfold!
Use Non-SPF Foundation
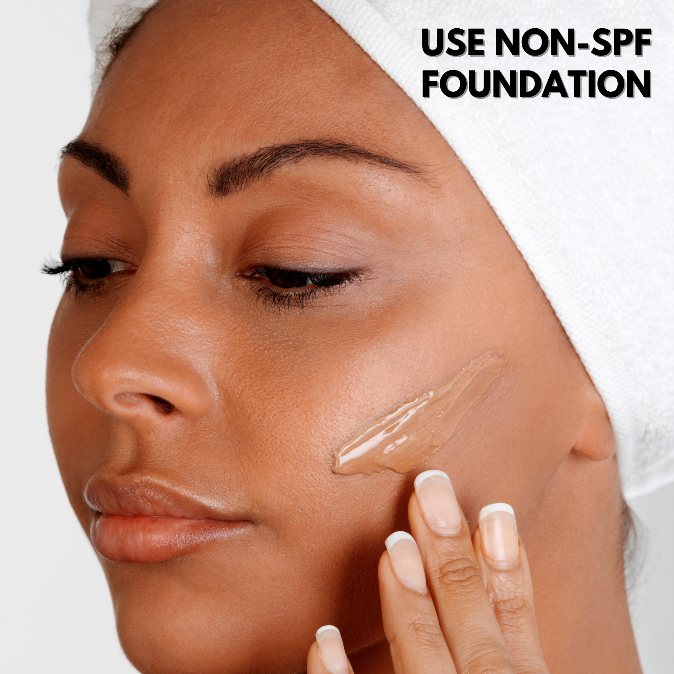
Here's a crucial tip: when preparing for an event with flash photography, it's best to steer clear of foundations that contain SPF. Why? SPF products often contain light-reflecting ingredients that, when hit by a camera flash, can result in an unwanted white cast on your skin—a phenomenon known as 'Flashback.' To avoid this camera-induced mishap, always inspect your foundation's ingredients list. If time allows, perform a flash test photo before your event to ensure your complexion is picture-perfect.
For optimal results, we recommend opting for a matte formula foundation. Matte foundations offer several benefits, including longer-lasting coverage, the reduction of unwanted shine, fuller coverage, and a minimized emphasis on skin texture. When applying your foundation, take your time to blend it seamlessly, paying special attention to areas like the hairline, jawline, and don't forget about the ears! These often-overlooked areas can make a world of difference in achieving a polished look. To ensure your foundation stays in place throughout your event, don't skip the setting step. Use a finely milled translucent powder to lock your foundation in position and eliminate any unwanted shine.
Chisel, Flush & Pop Those Cheeks
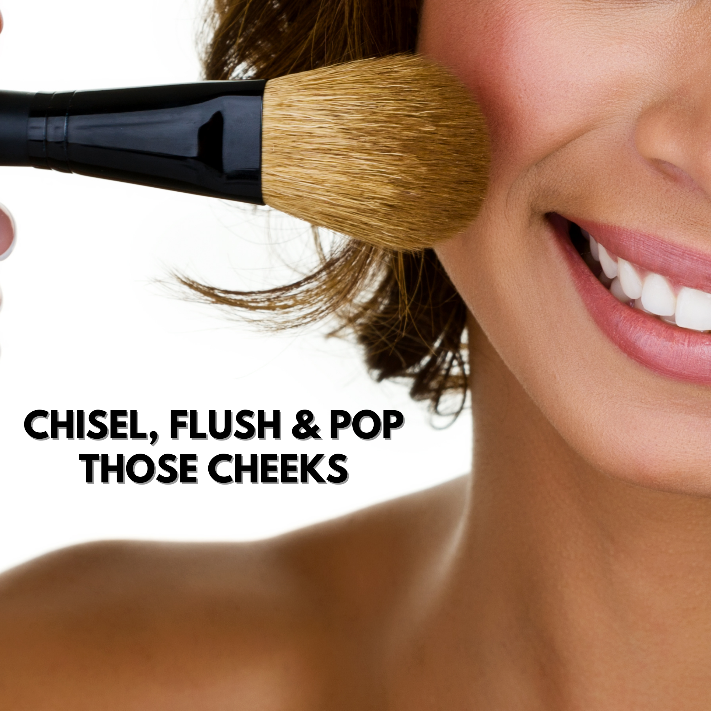
When it comes to achieving a camera-ready look, we need to take some extra steps to ensure that your facial structure doesn't get washed out by the camera flash. It's all about creating dimension and definition, and here's how you can do it like a pro.
- Contour & Bronzer Magic: Start by defining those cheekbones with contour and matte bronzers. Matte products work wonders here because they create natural-looking shadows, helping to bring back the sculpted structure that the camera flash might otherwise wash away. A little goes a long way with contour, so use a light hand and blend well for a seamless finish. Apply along the hollows of your cheeks, jawline, and the sides of your nose if needed.
- Blush Brilliance: Powder blush is your ally in adding a healthy flush to your complexion. Keep in mind that blush tends to fade faster, so don't be shy about applying it a bit more generously than you would for everyday makeup. Sweep your blush of choice onto the high points and apples of your cheeks to achieve that lovely, radiant flush that looks stunning on camera.
- Illuminate with Precision: Highlighter is your secret weapon to draw attention to specific areas of your face. Apply it strategically to places where you want that gorgeous, dewy glow. Think the tops of your cheekbones, inner eye corners, the bridge of your nose, and the cupid's bow. However, remember that less is often more with highlighter, as overdoing it can undo the work you've put into contouring and blush.
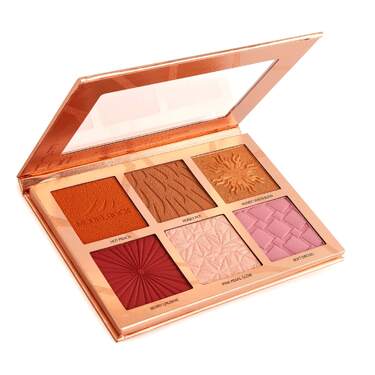
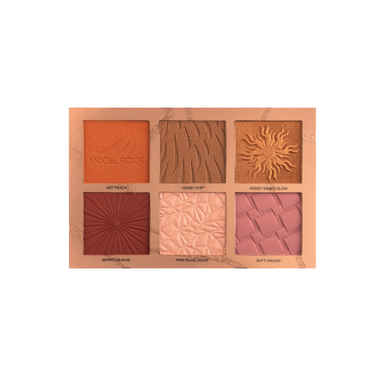
For a simplified approach to achieving these camera-ready contours and highlights, look no further than our CHISEL-SCULPT-SHADE FACE PALETTE. It's a one-stop-shop for creating dimension and radiance. If you're in the mood for a pop of colour, our HOT & SNATCHED FACE PALETTE has got you covered. With these palettes in hand, you'll be well on your way to a beautifully sculpted and defined look that will have you feeling confident in front of any camera!
Finish the Face with Setting Spray
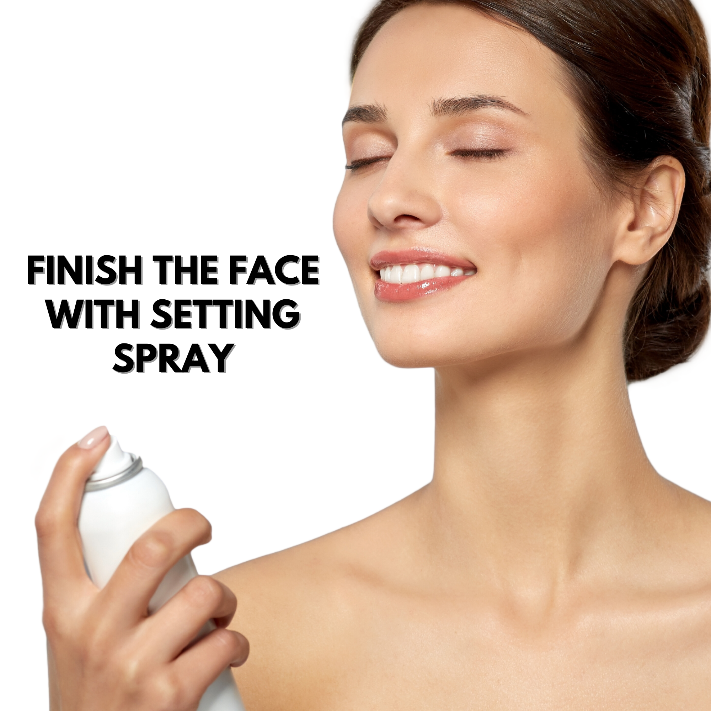
Don't underestimate the power of a good setting spray when it comes to sealing the deal on your camera-ready makeup look. Setting spray is the ultimate secret weapon for ensuring that your makeup stays put throughout the day or night. It's not just about longevity; setting spray also plays a crucial role in melding your setting powders seamlessly into your skin, giving you that coveted flawless finish.
Here's a pro tip to take your setting spray game to the next level: Instead of simply spritzing your face, try this hack for an even longer-lasting finish. Dampen your trusty BASE MAKER® SPONGE with a few sprays of setting spray directly onto the sponge itself. Then, gently bounce the sponge all over your face. This technique not only sets your makeup but also helps the products sink into your skin for a natural and radiant look.
Equipment & Lighting
.png)
Creating captivating makeup content doesn't always require an arsenal of high-end equipment, but if you're looking to elevate your game, there are some worthwhile tools and gadgets that can make a significant difference in the quality of your content. Here's a peek at some items that have personally helped me level up my makeup and photography game:
- Camera Upgrade - CANON 200D MARK II: This camera is a fantastic choice, especially for beginners. What sets it apart is its user-friendly interface and a vari-angle LCD screen. This feature allows you to see exactly how you look in the frame, making it ideal for makeup shots. Switching to self-portrait mode and using the flash can yield stunning selfies. Pair it with the Canon Camera Connect App to have seamless control and easy photo transfers to your smartphone.
- Lighting Brilliance - ETOILE MULTI-GLOW DUO LIGHT KIT PRO: If you're looking to level up your lighting setup, this versatile kit is a game-changer. It features flexible arms, temperature, and brightness controls, and even a USB fast-charging port. However, a standard ring light can also do wonders for your content.
- Soft Boxes for Perfect Lighting: Soft boxes are essential for achieving that shadowless, professional lighting. Placing them on either side of your ring light helps diffuse the light source, preventing harsh shadows. Or, you can place them behind you to create a back-lighting situation. You can find budget-friendly soft box pairs for under $100 on platforms like eBay, making them a worthwhile investment.
- Reflector Magic: Reflectors are another cost-effective tool to enhance your lighting setup. They redirect and soften existing light, eliminating secondary shadows. Opt for a versatile four-in-one reflector with silver, white, gold, and black sides for different lighting effects. These versatile tools are an excellent way to experiment with lighting without the need for multiple reflectors.
Remember, you don't need to start with all these tools at once; gradually building your collection as you grow is perfectly fine. Quality makeup and photography equipment can enhance your content and help you shine in front of the camera.
Now, armed with these makeup techniques and photography tips, you're all set to #GETYOURMODELROCKON and showcase your stunning camera-ready makeup looks to the world. Go ahead and confidently capture your beauty in every snap and video!