July 25, 2026
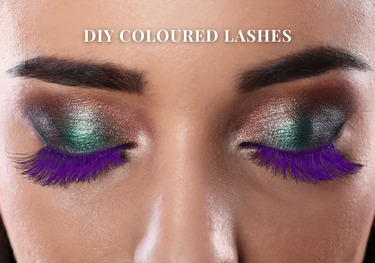
Coloured lashes are one of the easiest ways to make your makeup feel fresh, creative and a little unexpected. Whether you are experimenting with bold editorial looks or adding a subtle pop of colour to your everyday glam, creating your own lashes at home gives you complete control over the final result. Instead of searching for limited pre-made options, you can customise shades, finishes and intensity using products you likely already have in your kit. I’ll be using our LASHES to show you how it’s done.
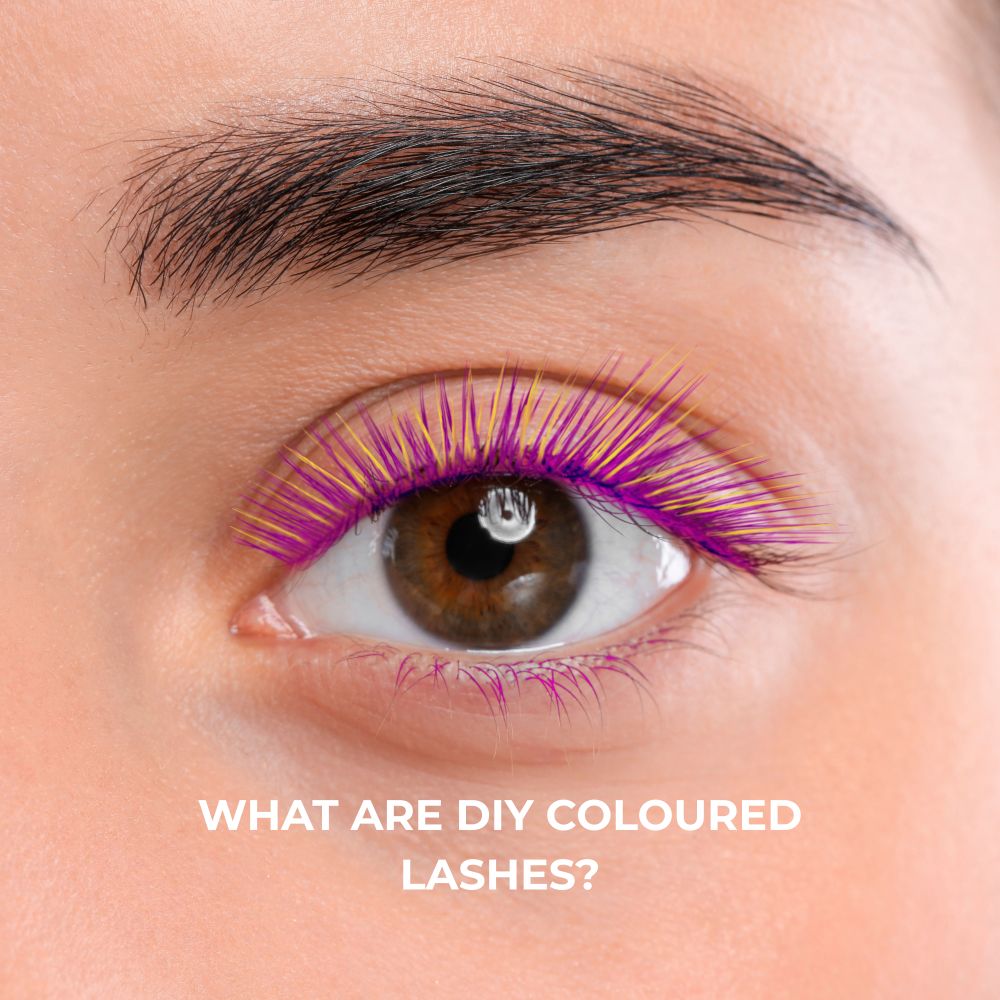
DIY coloured lashes are a technique where you apply pigment directly onto false lashes to customise their colour. This allows you to create anything from soft tonal looks to bold, artistic designs without relying on pre-coloured options. They have become increasingly popular across festival and editorial makeup because of their flexibility. You can match your lashes to your outfit, your eye colour or the mood of your look, making it an easy way to elevate your makeup while keeping it personal.
To get started, you only need a few essentials:
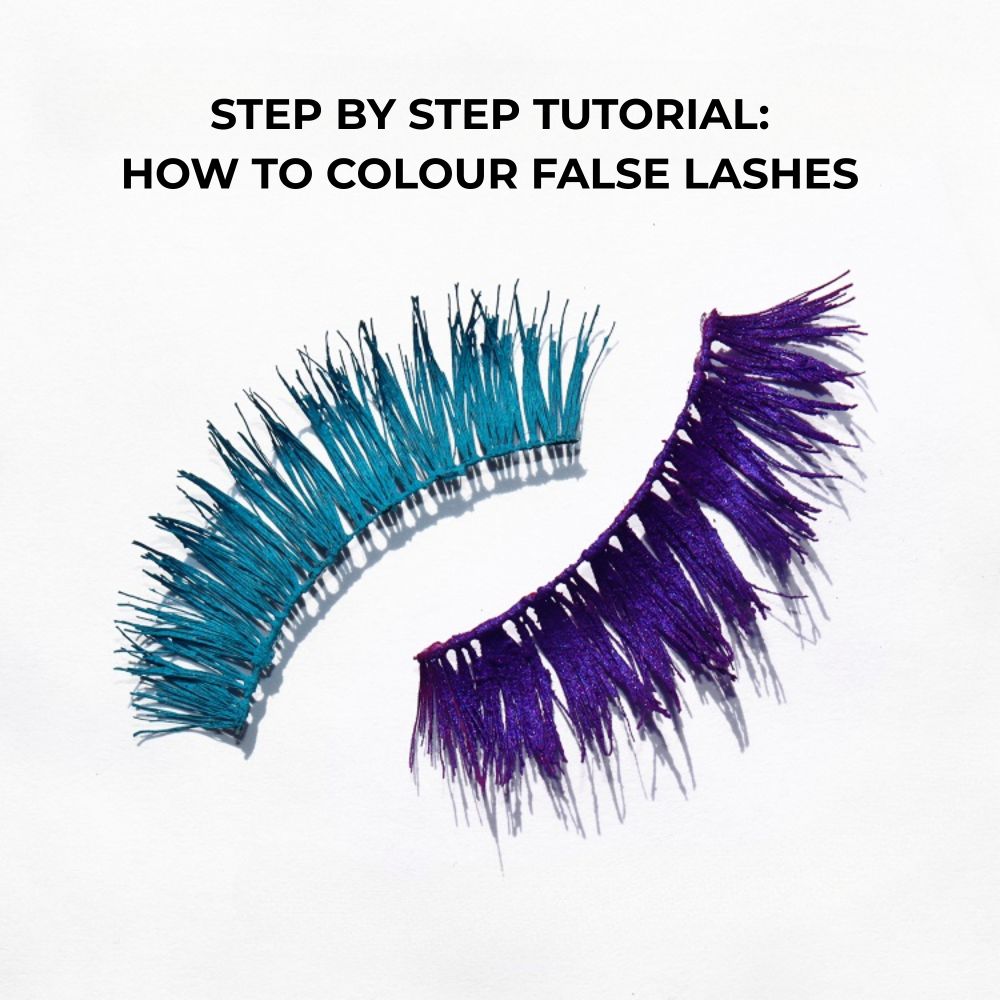
Apply a thin layer of concealer to both sides of the lashes using a light hand. This helps soften the original colour so your chosen shade appears brighter and truer to tone. Avoid overloading the lashes as this can weigh them down or cause clumping. Allow them to dry completely before moving on.
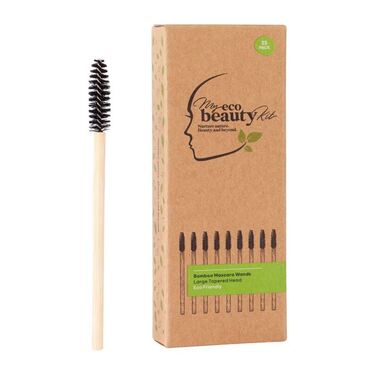
Using a small brush, gently coat the lashes with your chosen cream or liquid pigment. Work in thin layers rather than applying too much at once so you can build the intensity gradually. Make sure both sides are evenly covered for a consistent finish. A DISPOSABLE MASCARA WAND can help distribute the product more evenly and keep the lashes separated as you work.
While the pigment is still slightly tacky, press eyeshadow or loose pigment onto the lashes. Patting the product on rather than swiping helps prevent streaks and keeps the colour even. This step enhances vibrancy and helps lock the pigment in place. Matte finishes create a clean editorial look, while shimmer adds extra dimension.
Allow the lashes to dry fully before handling them. Once dry, use tweezers to gently separate any areas that have clumped together so the lashes look more defined and wearable. If you prefer a more textured, editorial finish, you can leave some sections slightly clustered for added effect.
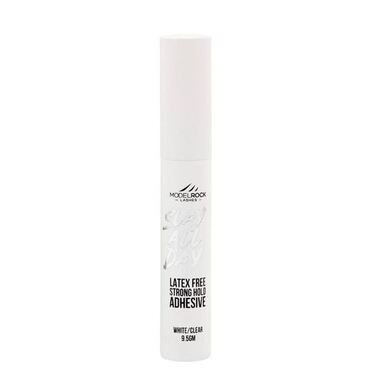
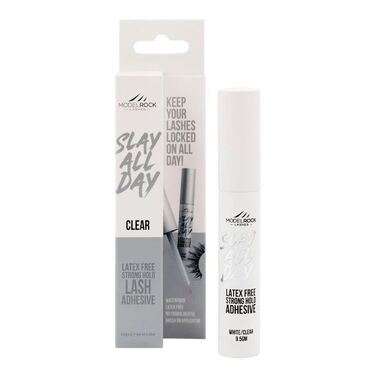
Measure and trim the lashes to suit your eye shape, then apply using a CLEAR LASH GLUE so the colour remains the focus. Clear glue helps create a seamless finish, particularly with lighter or brighter shades. Finish by blending your natural lashes with a spoolie if needed.
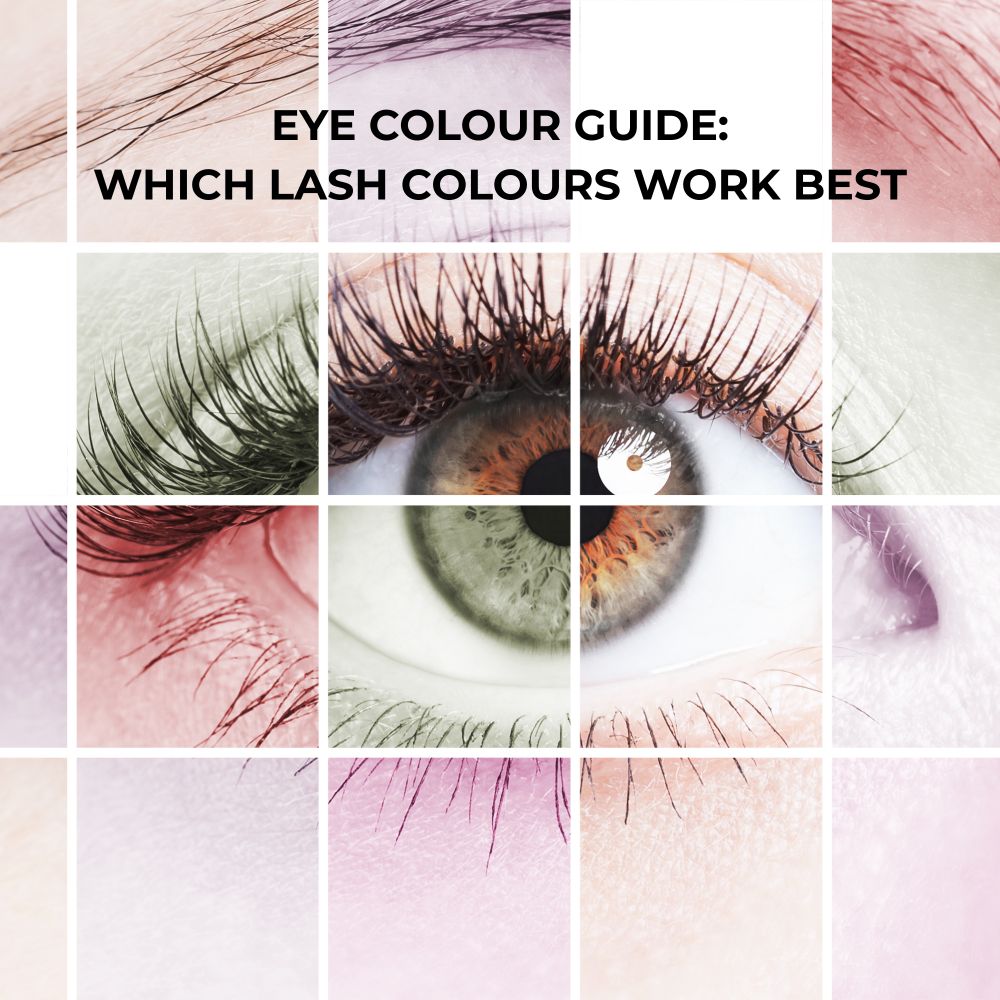
Choosing the right colour can enhance your natural eye colour and make your look stand out. This works because contrasting tones sit opposite each other on the colour wheel, creating more visual impact.
Blue eyes: Warm tones such as peach, copper and soft orange create contrast and make blue eyes appear brighter. Burgundy also adds depth for a more dramatic effect.
Green eyes: Purple, plum and magenta tones complement green eyes beautifully and help intensify their natural colour.
Brown eyes: Brown eyes suit almost every shade, making them ideal for experimentation. Jewel tones such as blue, teal and emerald are especially striking, while brighter colours create a bold finish.
Hazel eyes: Gold, bronze and olive tones enhance the mix of colours in hazel eyes and bring out their natural warmth.
Different methods vary in how long they last and how well they hold colour:
| Method | Colour Payoff | Durability | Reusability |
|---|---|---|---|
| Cream or liquid pigment | High | Medium to high | 3 to 5 wears |
| Layered method | Medium to high | Medium | 2 to 4 wears |
| Powder only | Low | Low | 1 to 2 wears |
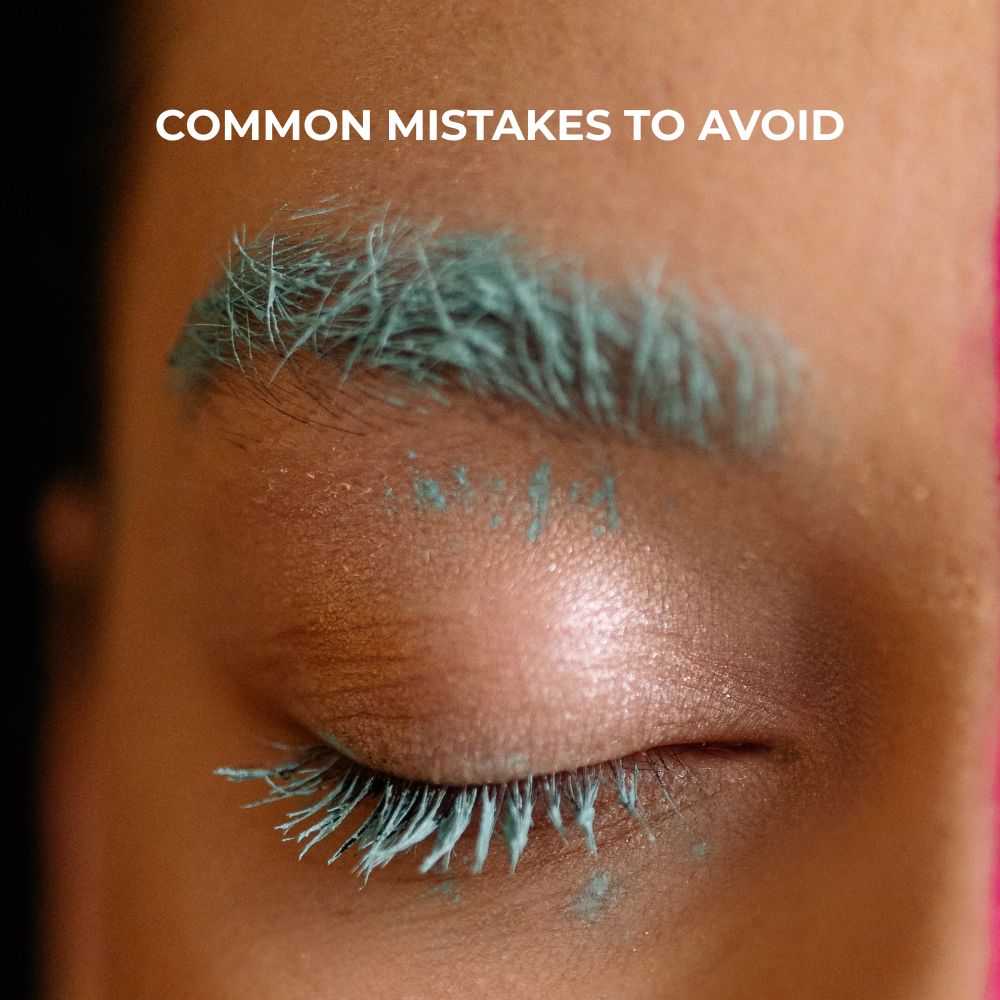
Longevity depends on how much product is used, how gently the lashes are handled and how well they are cleaned after each use.
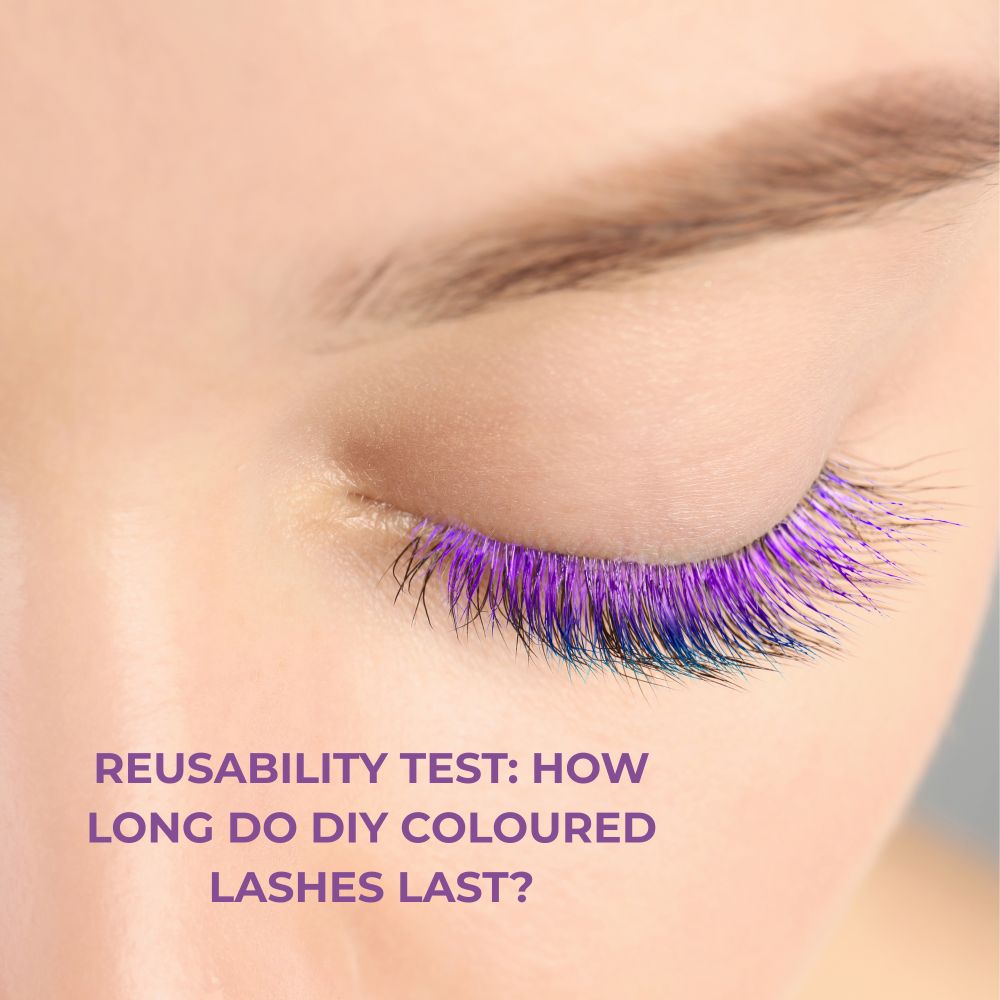
TIP: How to remove and clean DIY coloured lashes — carefully peel the lashes off starting from the outer corner and remove any adhesive with tweezers. Clean them gently using a slightly damp cotton tip, avoiding excess moisture which can damage the lash band. Allow them to air dry fully before storing.
What is the easiest way to DIY coloured lashes?
Using a cream or liquid pigment is the simplest method. It gives strong colour payoff and is easy to control with minimal steps.
Do I need special products for DIY coloured lashes?
No, but all products should be safe for use around the eyes. Highly pigmented formulas tend to give the best results.
How long do DIY coloured lashes take?
Most looks take around ten to twenty minutes depending on drying time and layering.
Can beginners try this at home?
Yes, this is very beginner friendly. Start with one colour before experimenting with more complex designs.
How can I make my lashes last longer?
Apply thin layers, allow proper drying time and clean lashes gently after each use.
DIY coloured lashes are a simple and creative way to personalise your makeup while giving you full control over the final look. With just a few products and a little practice, you can create styles that range from soft and wearable to bold and expressive, depending on your mood or occasion.
If you are ready to try DIY coloured lashes, start with a single shade and build your confidence from there. Over time, you will discover what works best for you and naturally develop your own signature style. Let us know in the comments below what colour you would choose!