The perfect red lip is back and bolder than ever! From lacquered stains to plush mattes and soft blurs, the red lip renaissance is officially here. This step-by-step red lipstick tutorial will show you exactly how to apply red lipstick flawlessly and keep it looking fresh from your first coffee to your last cocktail.
Key Takeaway Points
- Prep is power: Exfoliate and hydrate lips before colour application. This creates a smooth, even surface and helps lipstick last longer.
- Precision matters: Use a sharpened lip liner to map, define, and fill in lips before applying lipstick to prevent bleeding and improve longevity.
- Layer smartly: Apply lipstick in thin coats, blot between layers, and set through tissue with translucent powder for long-wear, transfer-resistant colour.
- Find your perfect red: Choose red lipstick shades that complement your undertone. Blue-reds for cool tones, brick/orange-reds for warm tones, and balanced berries for neutrals.
- Confidence is the key: Whether matte or glossy, the perfect red lip is about technique, polish, and attitude. It’s timeless beauty redefined for 2026.
Red, Reimagined What’s Trending Now
2025-2026 red lip trends are all about comfort meets confidence.
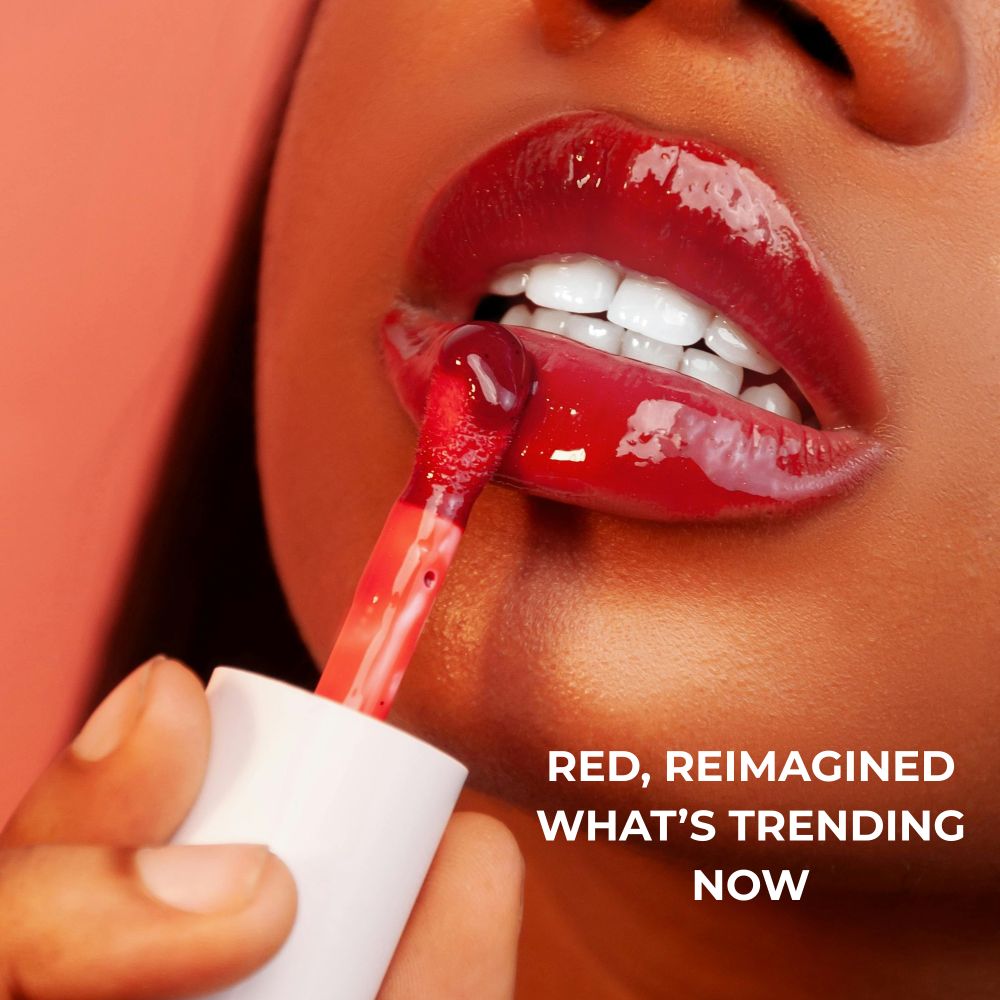
- Juicy lip stains are the go-to for effortless polish. Think a glossy finish that melts down into a soft stain, giving lips colour that lingers long after shine fades.
- Cherry, berry, and “toasted” warm reds are the new-season favourites, taking over both runways and real life. A brick-red pout feels vintage-chic, while berry tones give that cool-girl twist that never dates.
Pro tip: Whether you go for glossy, matte, or blurred edges, a red lip is more than a statement. It’s an instant confidence lift.
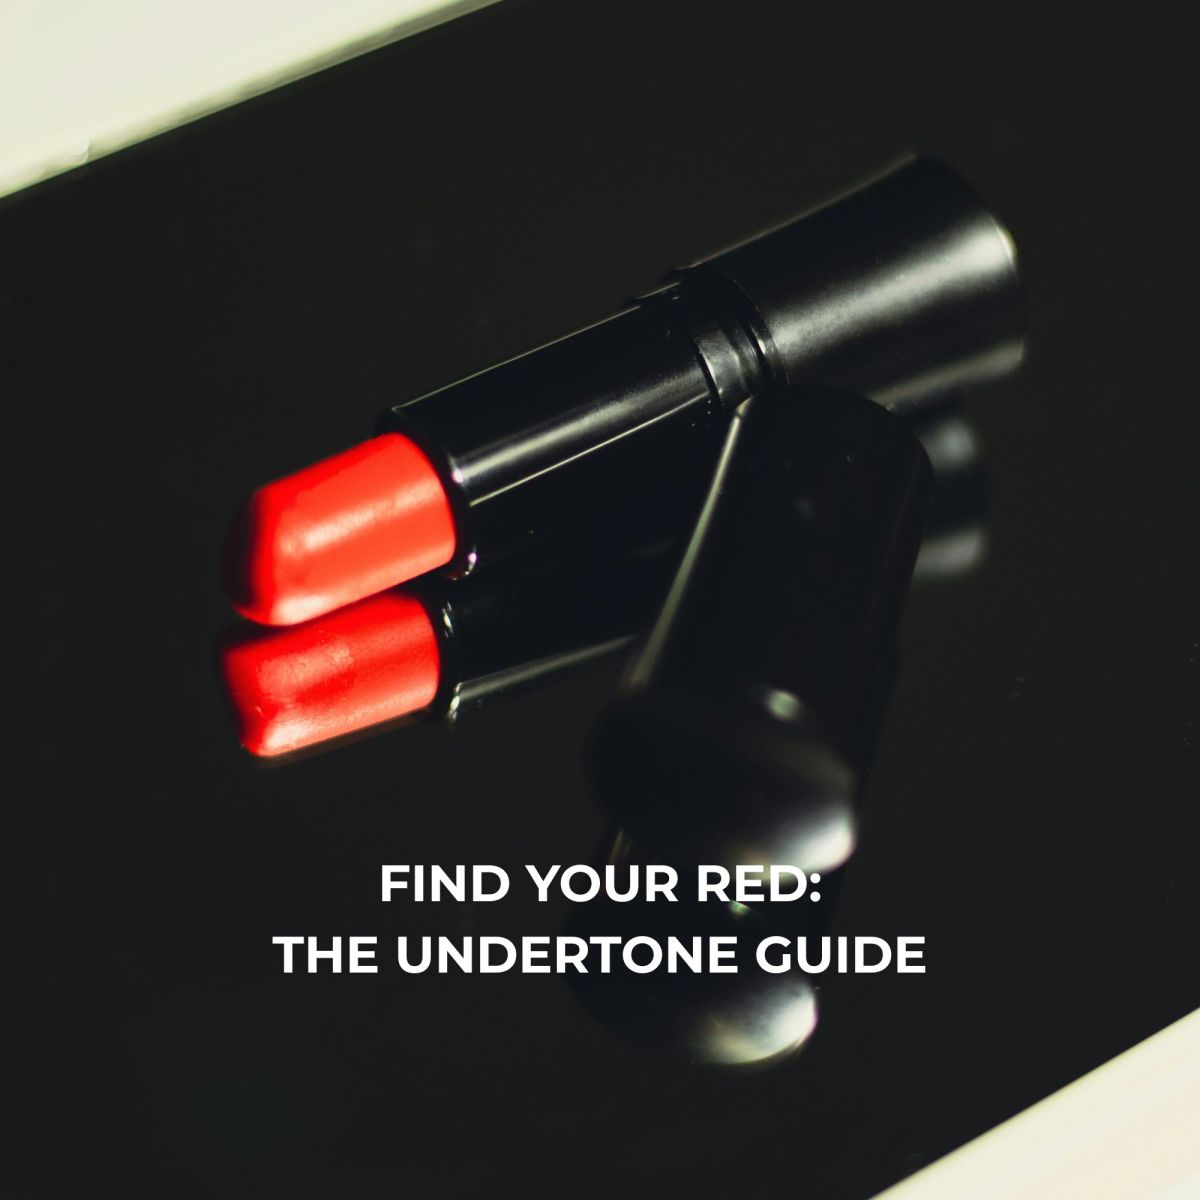
Find Your Red: The Undertone Guide
Not all reds are created equal. Choosing the right shade for your undertone will elevate your look from “nice” to next-level.
- Cool undertones (pink, rosy, or fair skin): Opt for a blue-red. It brightens your complexion and visually whitens your teeth.
- Warm undertones (golden, olive, or deeper skin): Reach for orange-reds, brick tones, or “toasted” caramels that harmonise with your warmth.
- Neutral undertones: You’re lucky! Balanced berry or cherry reds look stunning on you year-round.
Shade hack: Unsure of your undertone? Check your veins! Bluish means cool, greenish means warm, both means neutral.
Your Red Lip Kit Checklist (MODELROCK Favourites)
Achieving a flawless red lip starts with the right prep and tools.
- Lip prep: A gentle lip scrub to smooth texture, followed by a nourishing balm (blotted to remove excess shine).
- Shape & seal: Use a sharpened lip liner to map your shape and prevent feathering. Keep a small concealer brush handy for clean edges.
- Colour: Choose your lipstick texture: comfort bullet, Liquid-to-Matte Longwear Lipstick, or a juicy stain (mix and match for your ideal finish).
- Set: A single tissue and a light dusting of translucent powder (through the tissue) to lock it all in.

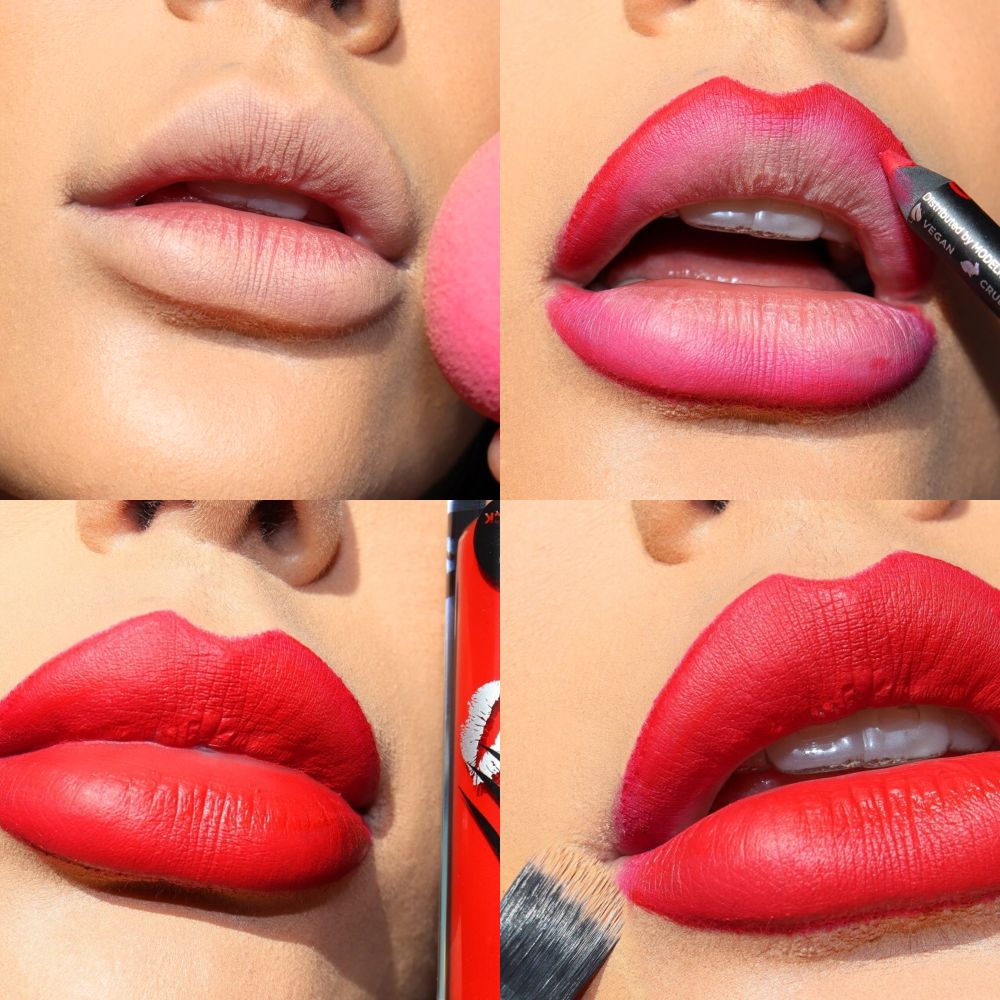
How to Apply Red Lipstick Step by Step
1) Prep (30–60 seconds)
Start with smooth, hydrated lips.
- Exfoliate gently using a sugar scrub or damp washcloth to buff away dryness.
- Apply balm for moisture, then blot off the excess so colour grips evenly.
- If you’re prone to redness or discoloration around the mouth, press a whisper of concealer around your lip line. This creates a clean canvas and helps prevent colour bleeding.
2) Map & Line
This is your blueprint for the perfect red lip.
- Sharpen your lip liner (the sharper, the cleaner your edge).
- Start by marking an “X” at your cupid’s bow. This trick ensures a perfectly symmetrical top lip.
- Trace your natural edges, then fully line your lips to create a barrier that locks pigment in place and prevents feathering.
- For a modern look, try the “no-liner” technique: softly contour just the outer lip edge for a blurred, effortless finish.
MODELROCK tip: Outline first, then lightly fill in your lips with the liner before applying lipstick. This doubles wear time and deepens pigment payoff.
3) Fill (Choose Your Finish)
Now for the fun part: colour. This step defines your lip look’s mood.
- Classic matte: Apply lipstick from the bullet or with a lip brush for precision.
- Blot once with a tissue.
- Reapply a thin second layer for long-lasting pigment that stays velvety and fresh.
- Juicy stain: Swipe on a liquid stain, let it set, then top with a sheer balm or gloss for that “glass but wearable” finish that fades beautifully through the day.
- Blurred edge (modern): Apply a small amount of colour at the centre and feather it outward with your fingertip or brush. Keep the outer edges softer. This technique adds volume and a fashion-forward touch.
Pro insight: Thin, layered applications last longer than one heavy coat. It’s about building colour, not flooding it.
4) Lock It In
The final step for that photo-perfect red lip that won’t budge.
- Lay a single-ply tissue over your lips.
- Lightly dust translucent powder through the tissue with a fluffy brush. This sets the pigment without dulling your finish.
- Use a small concealer brush with a hint of foundation to clean up the edges.
- Blend seamlessly into your base makeup for a crisp, professional outline.
Finish by doing the classic fingertip “teeth test”:
Place your index finger between your lips and pull it out. This removes any inner-lip colour that could transfer to your teeth.
Make It Last: Pro Wear Tactics
Want your red to survive dinner, drinks, and selfies? Here’s how:

- Layer smart: Apply lipstick in thin coats, blotting between each for unbeatable endurance.
- Double line: Trace your lips with liner before and after lipstick for the ultimate fade barrier.
- Lock with tissue + powder: Your best friend for all-night wear. Colour won’t move, and the texture stays plush.
- Touch-up trick: Keep your lip liner in your bag; a quick edge refresh revives your red in seconds.
MODELROCK tip: Finish with Liquid-to-Matte Longwear Lipstick for a budge-proof pout that feels featherlight, not dry.
Finish Match: Styling Your Red Lip
Balance is everything.

- For daytime polish, pair your red lip with clean lashes and soft brows, it’s minimal effort with maximum payoff.
- For evening glam, go classic: winged liner, a touch of highlighter, and MODELROCK CLUSTER LASHES for that vintage screen-siren feel.
Common Mistakes and Quick Fixes
- Too slick or sliding? You skipped blotting! Pat off excess balm and reapply your liner.
- Flat or ageing matte? Add a dab of stain or satin finish to the centre for dimension and life.
- Feathering or bleeding? Use a grippier lip liner and avoid applying balm directly beneath the lip edge.

Don’t forget: end-of-day removal is just as important. Use makeup remover pads and follow with a gentle brush/sponge cleanser to keep tools and lips in top condition.
FAQs: For the Perfect Red Lip in 2025
Q: How do I apply red lipstick without it bleeding?
A: Always start with a sharp lip liner. Outline, then fill in your lips completely with liner before applying lipstick. You can also press concealer lightly around the lip edges to create a clean, sealed border.
Q: What’s the secret to the perfect red lip look?
A: Prep and precision! Smooth lips, a crisp outline, and thin layered application are key. Setting through tissue ensures transfer resistance without dulling the finish.
Q: Best tips to make red lipstick last all night?
A: Apply in thin layers, blot between coats, and set through a tissue with translucent powder. Finish by double-lining the outer edge for fade-proof stamina.
Q: Which red makes teeth look whiter?
A: Blue-red shades (cool undertones) visually brighten your smile. They’re timeless for a reason.
Q: Are stains really better in 2025?
A: Stain-gloss hybrids are trending because they deliver shine and longevity without the dryness of full mattes. Comfort + colour = the modern red lip formula.
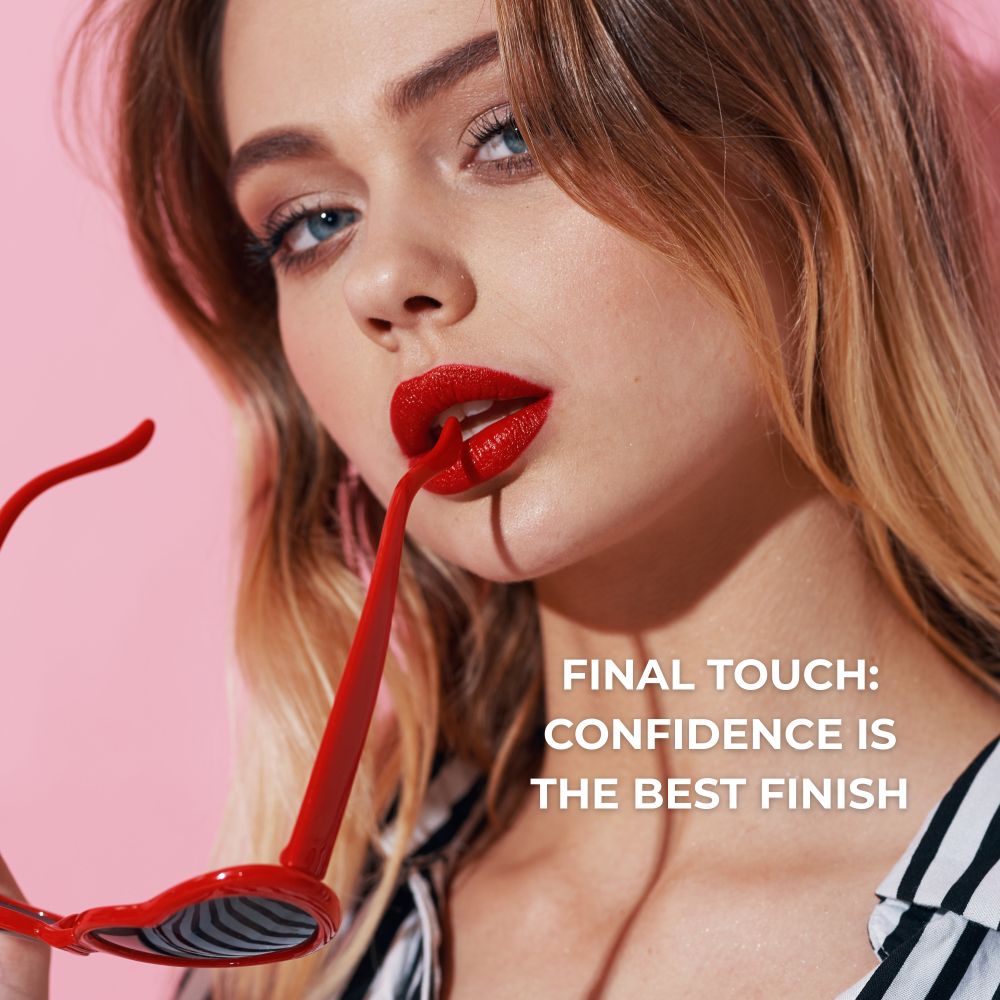
Final Touch: Confidence is the Best Finish
A red lip isn’t just makeup, it’s a mindset. Whether you choose a juicy stain or a bold matte, the key is confidence and clean technique.