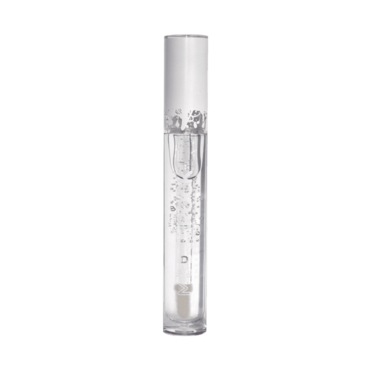
Gloss has officially entered its comeback era: bigger, glossier, and more comfortable than ever. The 2026 vibe is all about juicy, skincare-infused shine, featherlight textures, and personalised colour that looks like your lips, but better. And the best part? You can make your own custom lip gloss at home with just a few safe, simple ingredients.
Whether you’re after a soft, wearable tint or a high-shine pop of colour, this guide walks you through creating your perfect gloss in minutes. No heat, no complicated formulas, just glossy goodness.
KEY TAKEAWAYS
- ⚡ You can make lip gloss easily at home using a premade gloss base (no heating required).
- ⚡ Choose lip-safe pigments only: Many eyeshadows and micas are not approved for lips.
- ⚡ Prep and mix correctly: Keep your formula oil-only to avoid preservation issues.
- ⚡ Keep tools clean: Sanitising your tools is essential for safe DIY gloss making.
- ⚡ Be creative: You can customise colour, shine, and scent with simple add-ins!
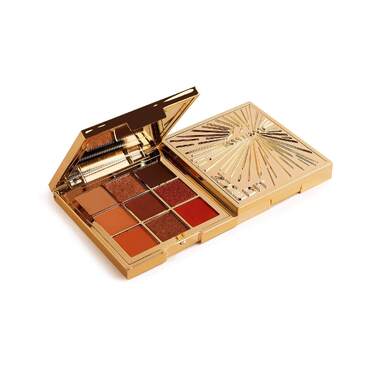
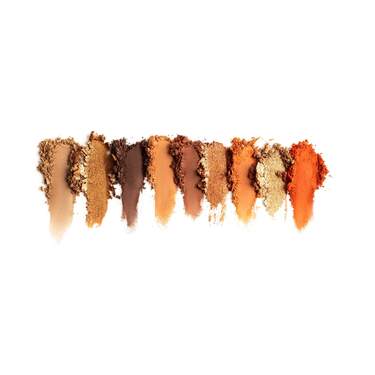
- ⚡ Use high-quality products: MODELROCK’s Nude Edit 9-Pan Eyeshadow Palettes offer versatile, lip-safe shimmer and colour options for DIY gloss.
- ⚡ Finishing touches: Pair your gloss with MODELROCK’s Creamy Longwear Lip Liner for crisp, non-feathered wear.
SAFETY FIRST (READ BEFORE MIXING)
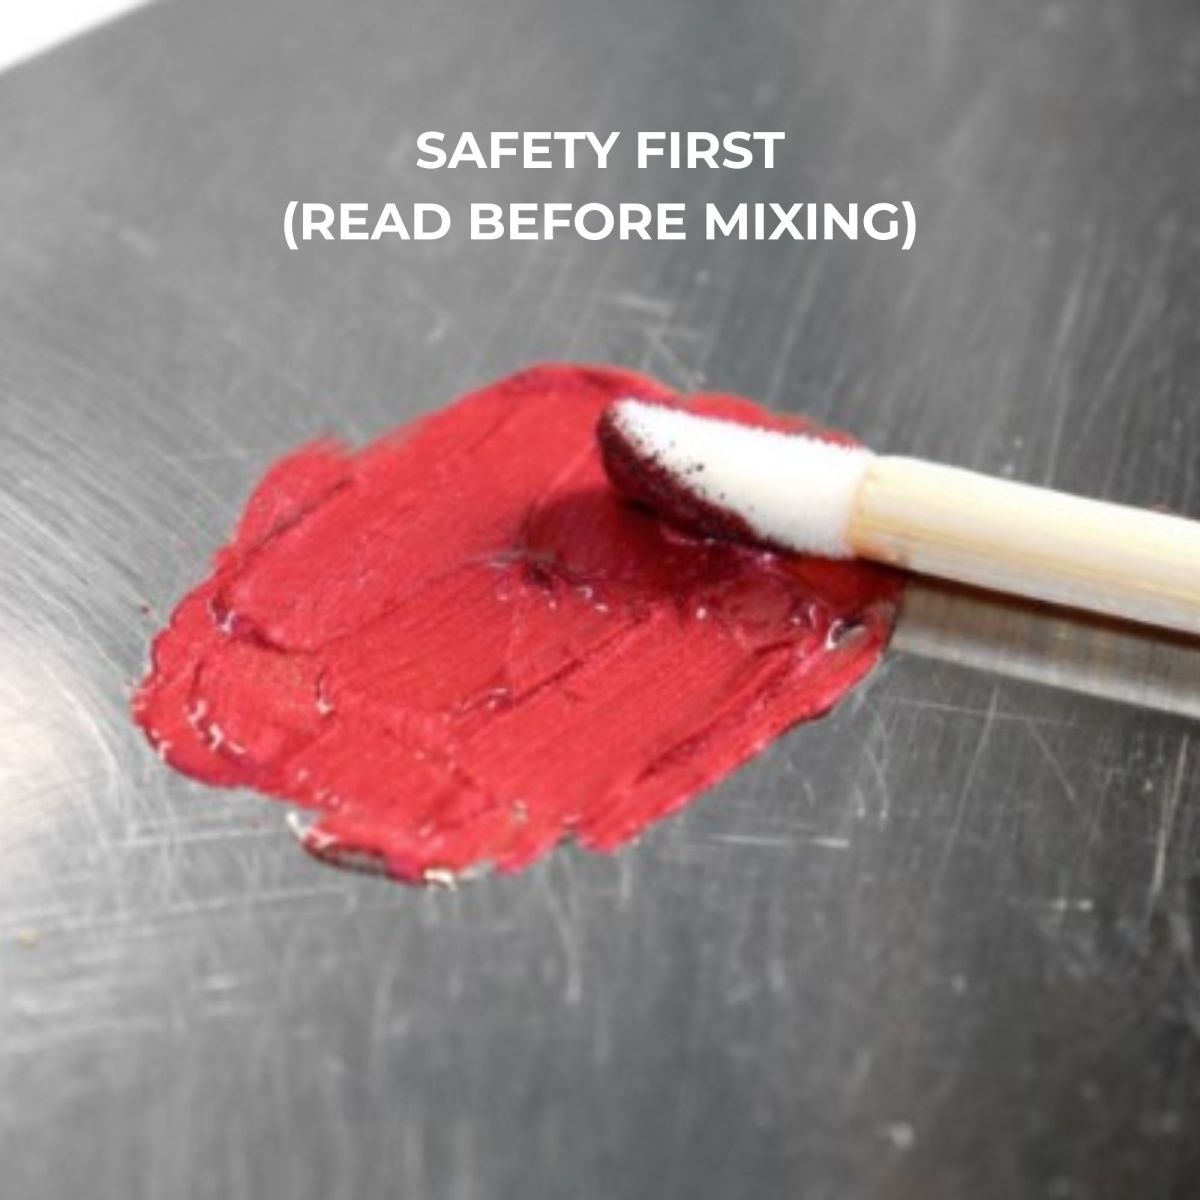
Use only lip-approved pigments
Not all colour cosmetics are lip-safe. Check that your pigment or mica is specifically labelled for lip use.
Keep your formula anhydrous (oil-only)
Avoid adding anything water-based (aloe, hydrosols, etc.), which can introduce bacteria and require preservatives.
Sanitise everything
Wash your tools, dry them fully, then wipe with ~70% isopropyl alcohol and let them air-dry.
Be gentle with flavours
Only use flavour oils marketed as lip-safe and keep the amount small.
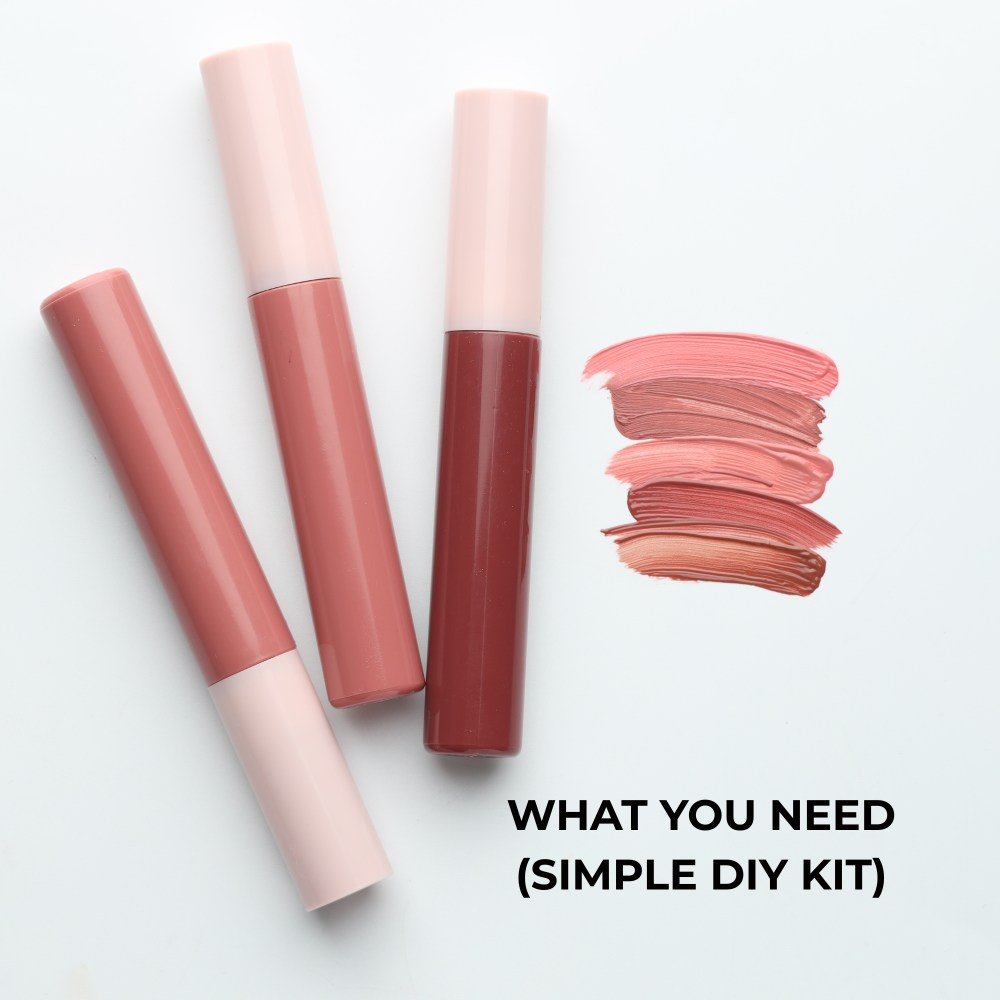
WHAT YOU NEED (SIMPLE DIY KIT)
Base Ingredients
- Premade gloss base (easiest option; no heat required)
- Optional oils: castor, jojoba, or fractionated coconut oil
- Lip-safe pigment, mica, or a shade from MODELROCK’s Nude Edit 9-Pan Eyeshadow Palette
- Vitamin E (optional antioxidant)
Optional Extras
- Lip-safe flavour oil
- Cosmetic-grade shimmer for added shine
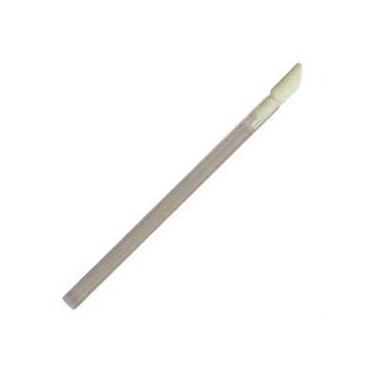
Tools
- Small mixing pot or palette
- Spatula
- Pipette or syringe (for filling tubes)
- Sanitised empty lip gloss tubes
Two Simple Homemade Lip Gloss Recipes
These recipes are intentionally easy, beginner-friendly, and fully oil-based, no complicated ingredients needed.

Recipe A — No-Heat Gloss (The Easiest Method)
Base gloss (Versagel or similar) ........ 85–90%
Castor or jojoba oil .......................... 5–8%
Lip-safe pigment or mica ................. 2–5%
Vitamin E ........................................ 0.2–0.5%
Flavour (lip-safe, optional) ................ 0.5–1%
How to Make It:
- Sanitise tools and workspace.
- Add the gloss base to your mixing pot.
- Stir in oil, then pigment, until smooth and even.
- Add flavour (optional) and mix again.
- Tube the gloss using a syringe.
Recipe B — Tinted Balm-Gloss Hybrid (Slightly Thicker)
Gloss base ..................................... 70–75%
Castor oil ....................................... 15–18%
Candelilla or beeswax ...................... 3–5%
Lip-safe pigment .............................. 2–4%
Vitamin E .......................................... 0.2–0.5%
How to Make It:
- Melt oils + wax on very low heat until liquid.
- Let cool slightly.
- Mix in the gloss base and pigment.
- Stir until smooth, then fill your tubes.
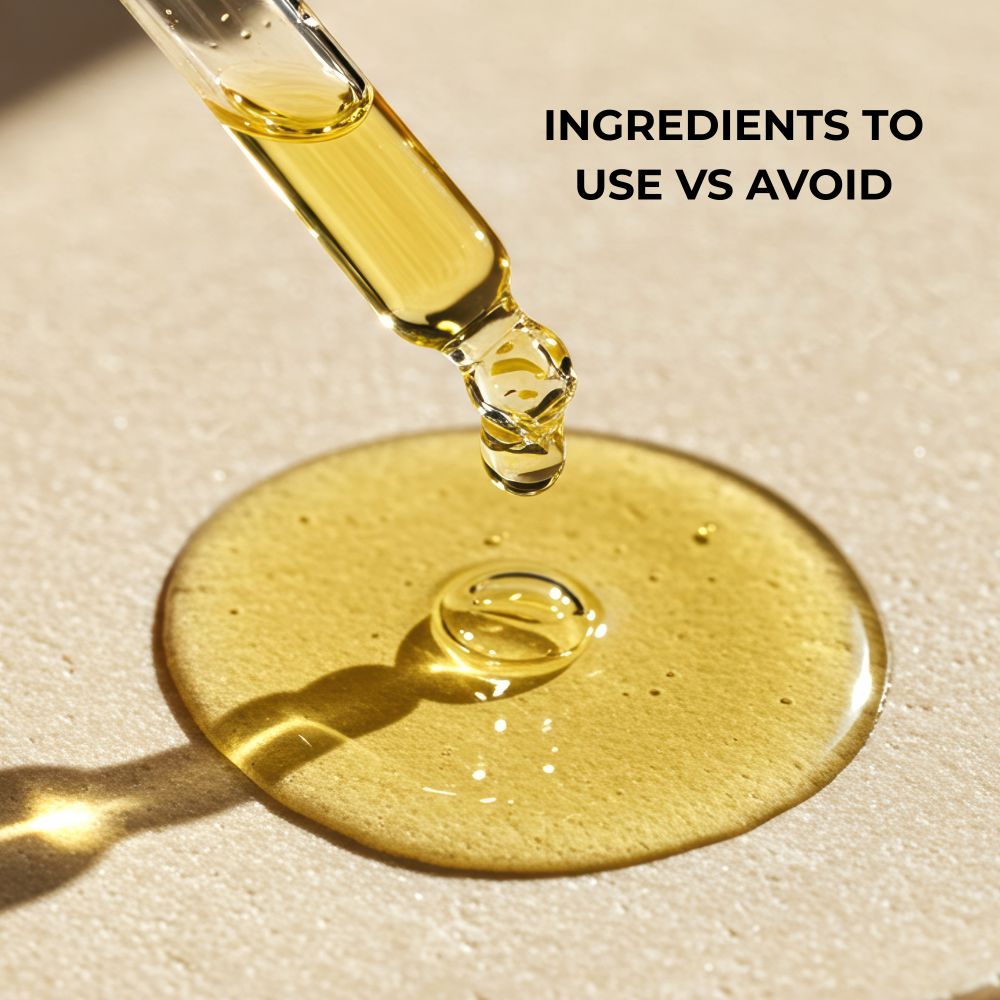
INGREDIENTS TO USE VS AVOID
Good Choices (and Why They Work)
- Gloss base (smooth and cushy)
A premade gloss base gives your DIY formula instant shine, slip, and structure. It’s designed to be non-sticky, comfortable, and stable, meaning it won’t separate, grain, or turn cloudy. Because it’s already formulated for lip products, you don’t need heat, thickeners, or emulsifiers. Everything stays simple, safe, and beginner-friendly.
- Castor, jojoba, or fractionated coconut oil
These lightweight oils blend beautifully into gloss bases and enhance shine without feeling greasy.
- Castor oil adds adhesion and a glassy finish.
- Jojoba oil mimics natural skin oils, making it soothing and conditioning.
- Fractionated coconut oil stays fluid and non-greasy, helping thin out thick gloss bases.
All three are stable oils that resist rancidity, making them reliable for homemade cosmetics.
- Lip-safe micas/dyes
Only colourants labelled lip safe should be used in any lip formula. These pigments are approved for direct lip contact and won’t cause unexpected irritation or staining. Lip-safe micas also disperse smoothly into oil-based products, giving even colour payoff and shimmer without gritty texture.
- Vitamin E for freshness
Vitamin E (tocopherol) acts as an antioxidant, helping slow the natural oxidation process of oils. While it isn’t a preservative, it does extend freshness and keeps your gloss smelling pleasant for longer. It’s especially helpful in small-batch, at-home recipes where ingredients aren’t stabilised with commercial preservatives.
Avoid (and Why They Don’t Belong in Lip Gloss)
- Craft glitter or non-cosmetic sparkles
Craft glitter is made from materials not intended for cosmetic use. Often plastic or metal particles with sharp edges or colourants that aren’t lip-safe. These can irritate lips, cause micro-cuts, or leach dyes. Always use cosmetic-grade shimmer or glitter designed specifically for lips and eyes.
- Pigments marked “external use only”
Many eye and face pigments aren’t approved for use on the lips, even if they seem harmless. Certain dyes can cause staining, sensitivity, or allergic reactions on delicate lip skin. Always check for supplier notes like “lip safe,” “approved for lip use,” or “not for use on lips.”
- Water-based add-ins (they introduce microbes)
Ingredients like aloe gel, hydrosols, floral waters, and water-based serums instantly turn your simple gloss into a product that requires preservation. Water + warmth + oxygen = the perfect environment for bacteria. If you want a safe, low-maintenance formula, stick to oil-only ingredients.
- Strong essential oils (potentially irritating)
Essential oils like cinnamon, clove, peppermint, and citrus can cause burning, dryness, or allergic reactions. Especially on the sensitive lip area. Most essential oils are too strong for leave-on lip products unless professionally diluted. Always choose flavour oils specifically made for lip products.
Pro Tips & 2026 Gloss Trends
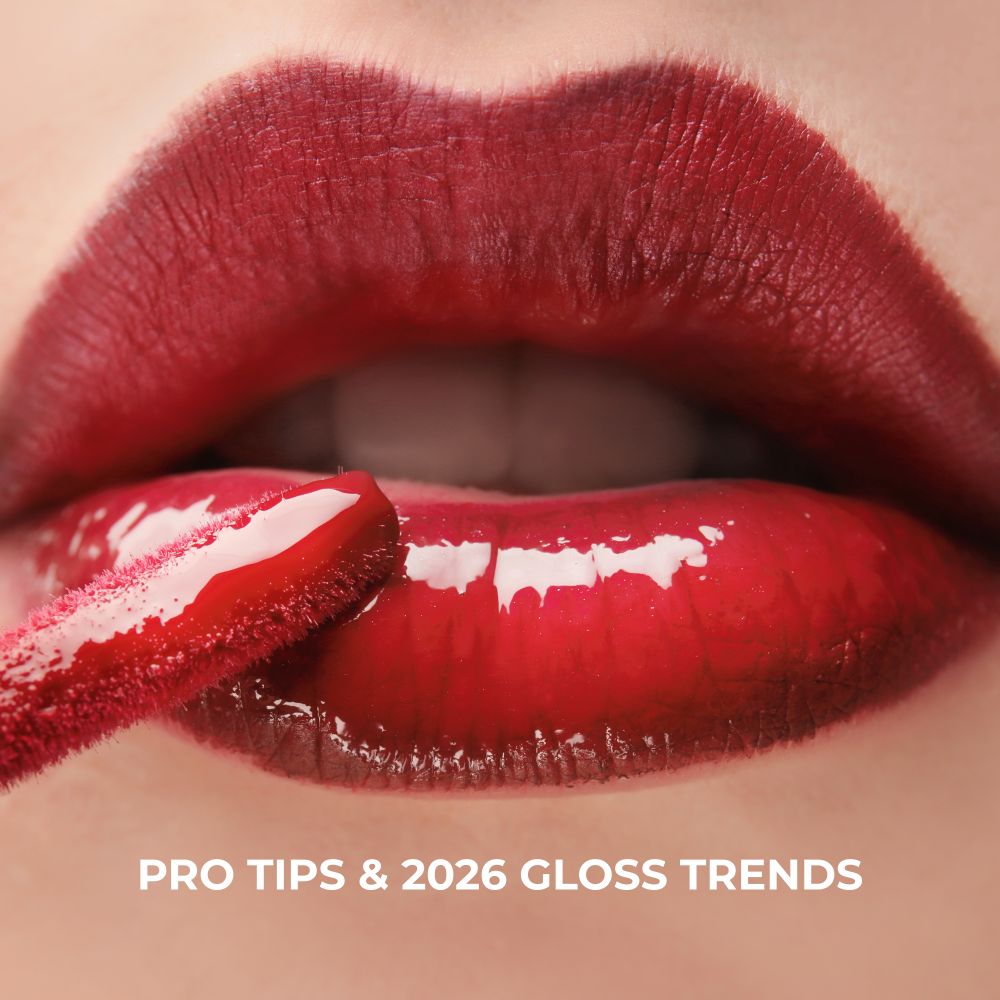
- Apply a light tint or stain underneath for all-day colour
Stains grip the lips and last for hours, so topping them with gloss gives you high shine without losing intensity. This “stain + gloss” combo is a big 2025 trend. Think juicy, lived-in colour with a natural fade.
- Use MODELROCK’s Creamy Longwear Lip Liner before gloss for clean, feather-free definition
Gloss naturally moves more than lipstick, so lining first creates a barrier that keeps the shine where it belongs. MODELROCK’s Creamy Longwear Lip Liners glide on smoothly and give a flexible, long-lasting outline without cracking under gloss.
- Want a glossy shimmer? Add a pinch of cosmetic-grade shimmer to your mix
A tiny amount of lip-safe shimmer instantly elevates your gloss to a “high-shine, multidimensional finish.” It catches light beautifully and blends seamlessly into oil-based formulas for a luxe, professional look.
Storage & Shelf Life
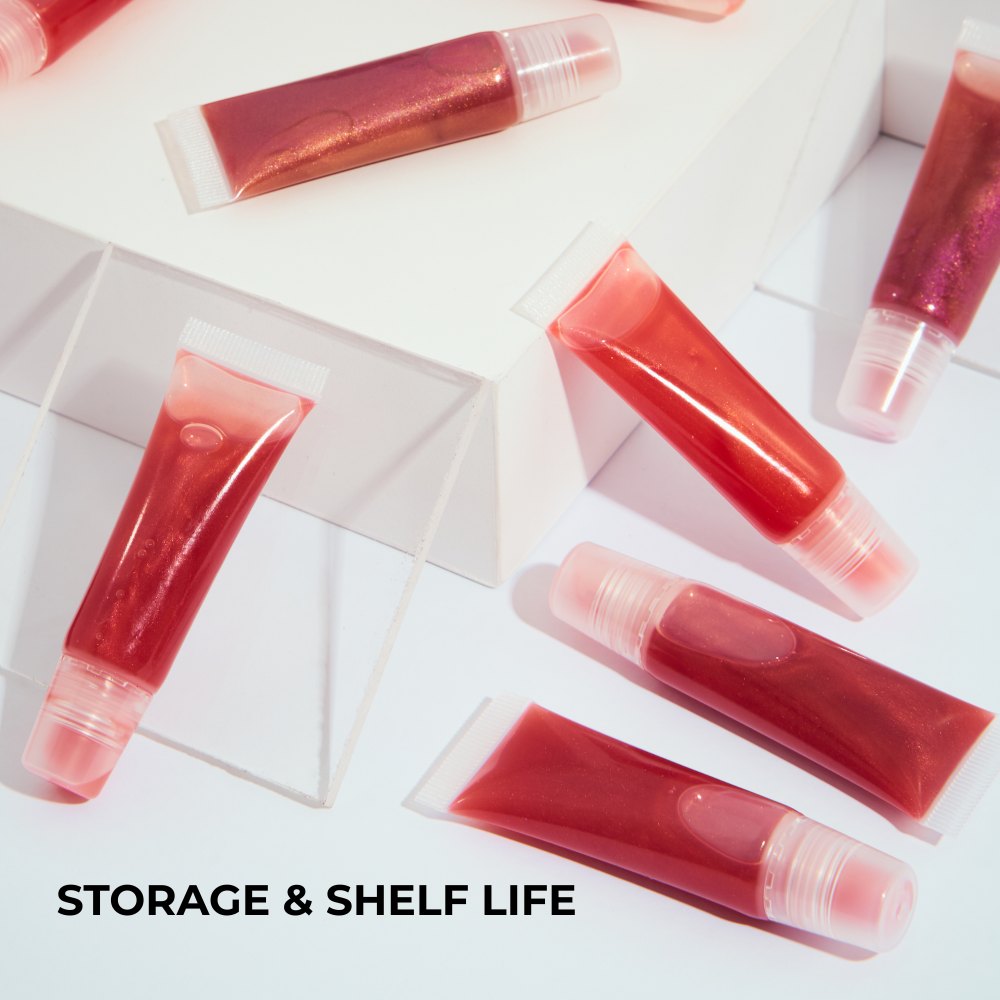
- Keep tubes tightly sealed
Air exposure speeds up oxidation, which can cause oils to develop off smells or change colour. A firmly closed tube keeps your gloss fresh for longer.
- Store away from heat and sunlight
Heat accelerates oil breakdown and can thin your gloss. Sunlight also promotes oxidation. A cool drawer or makeup bag is ideal.
- Oil-only glosses last several months when kept clean
Because they contain no water, oil-based glosses are naturally more stable and less prone to microbial growth. Clean tools = longer-lasting product.
- If the scent or colour changes, discard and remake a fresh batch
A sour, crayon-like scent or a change in texture indicates your oils have oxidised. It’s normal for homemade glosses to have a shorter shelf life. Small, frequent batches are best.
Quick Troubleshooting

- Too thick? Add a few drops of oil
Some gloss bases are naturally dense. A few drops of castor or fractionated coconut oil will loosen the texture without reducing shine.
- Too runny? Add a touch more base
A thicker gloss base (or a tiny amount of wax in hybrid formulas) restores cushion and helps pigments stay evenly suspended.
- Dull colour? Increase pigment slightly and mix thoroughly
Micas and pigments need enough mixing time to disperse evenly. If it still looks muted, add a small pinch more, a little goes a long way.
- Irritation? Remove immediately and review your flavour or pigment source
Sensitivities are often caused by strong essential oils or pigments not approved for lip use. Switching to lip-safe ingredients usually solves the issue.
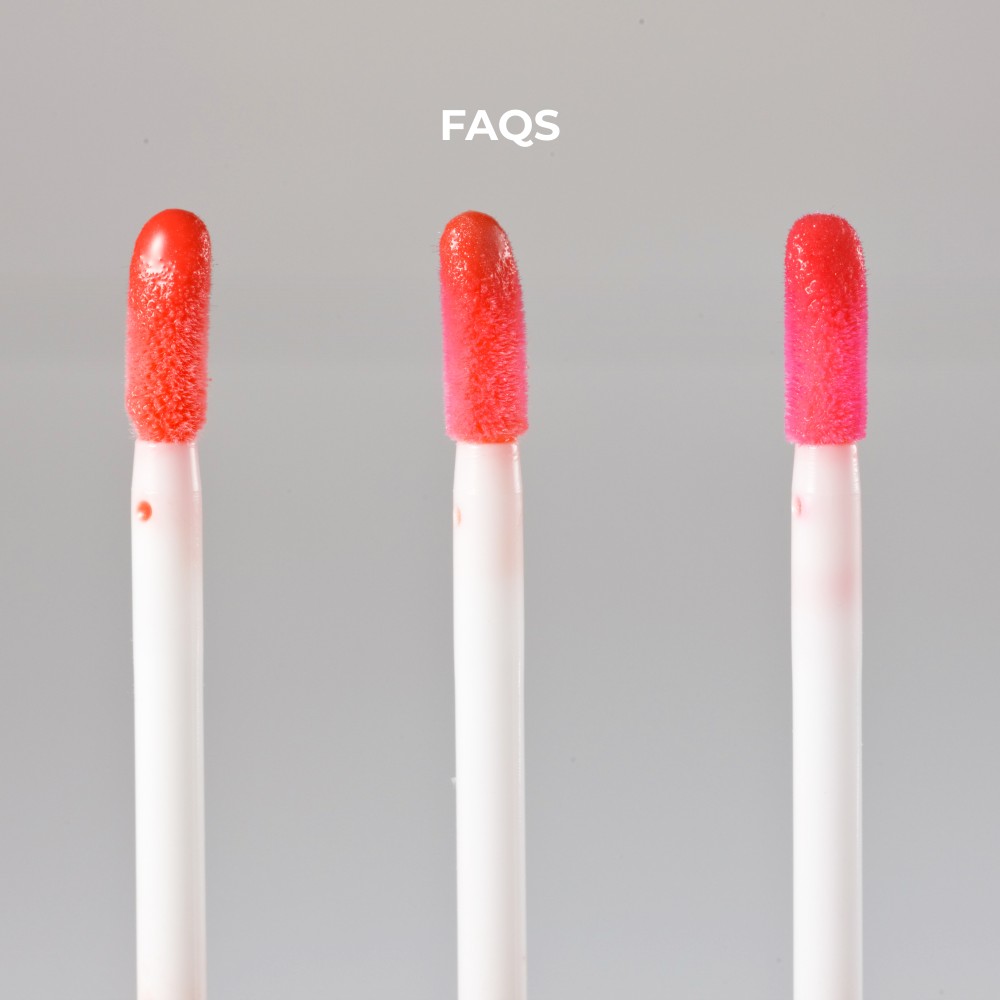
FAQs
How can I make lip gloss at home easily?
Use a premade gloss base, mix in a little oil and lip-safe pigment, and fill into a tube. No heat or special equipment needed.
What ingredients do I need?
A gloss base, castor or jojoba oil, lip-safe pigments or shimmer, optional flavour oil, vitamin E, and sanitised tools/tubes.
Can I add colour or flavour?
Absolutely. Just make sure both are specifically labelled lip-safe to avoid irritation or unsafe ingredients.
If DIY lip gloss is too much work, check out our range of lip gloss styles below!