April 13, 2026

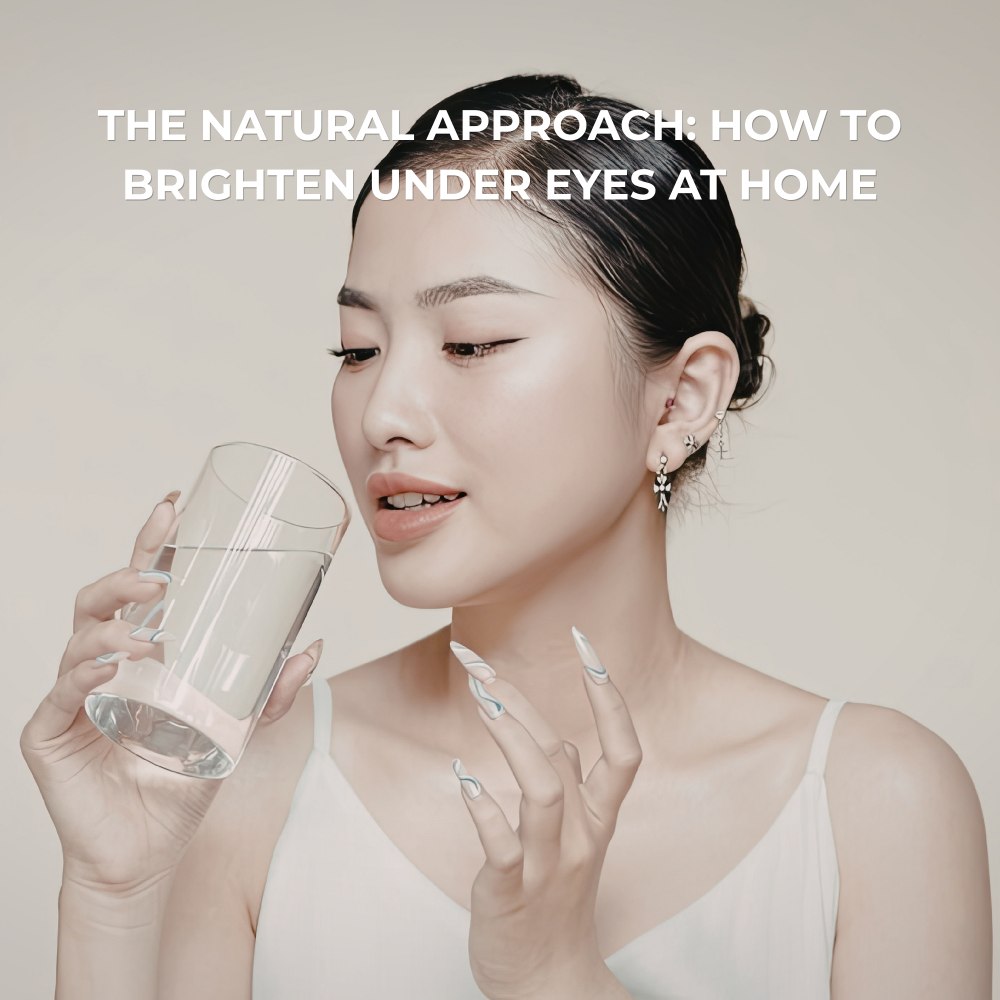
Whether it was a Netflix binge, a late-night lash application session, or simply genetics, we have all faced that tired looking reflection. Dark circles are completely normal. Knowing how to brighten under eyes is where the magic happens.
The goal is no longer heavy layers or thick coverage. Instead, we are aiming for a fresh, lifted look that says you are well rested, even if you are not. From clever concealer tips to simple home remedies, this guide will help you achieve a naturally radiant under eye area.
Under-eye circles can be caused by several things, and it's important to know what's causing them so you can find the right solution. Here are some of the most common causes of under-eye circles:
Understanding the causes of under-eye circles can help you identify the best approach to reducing or hiding them. So, if you're struggling with dark circles, don't worry, there are steps you can take to reduce the appearance.
Great makeup starts with good skin. When your under-eye area is healthy, everything you apply on top looks better.
Simple home methods can still be effective:
If you are searching for a permanent fix at home, it is important to be realistic. You cannot completely remove dark circles caused by genetics, but you can noticeably reduce their appearance with consistent care.
The products you use before concealer matter just as much as the concealer itself.
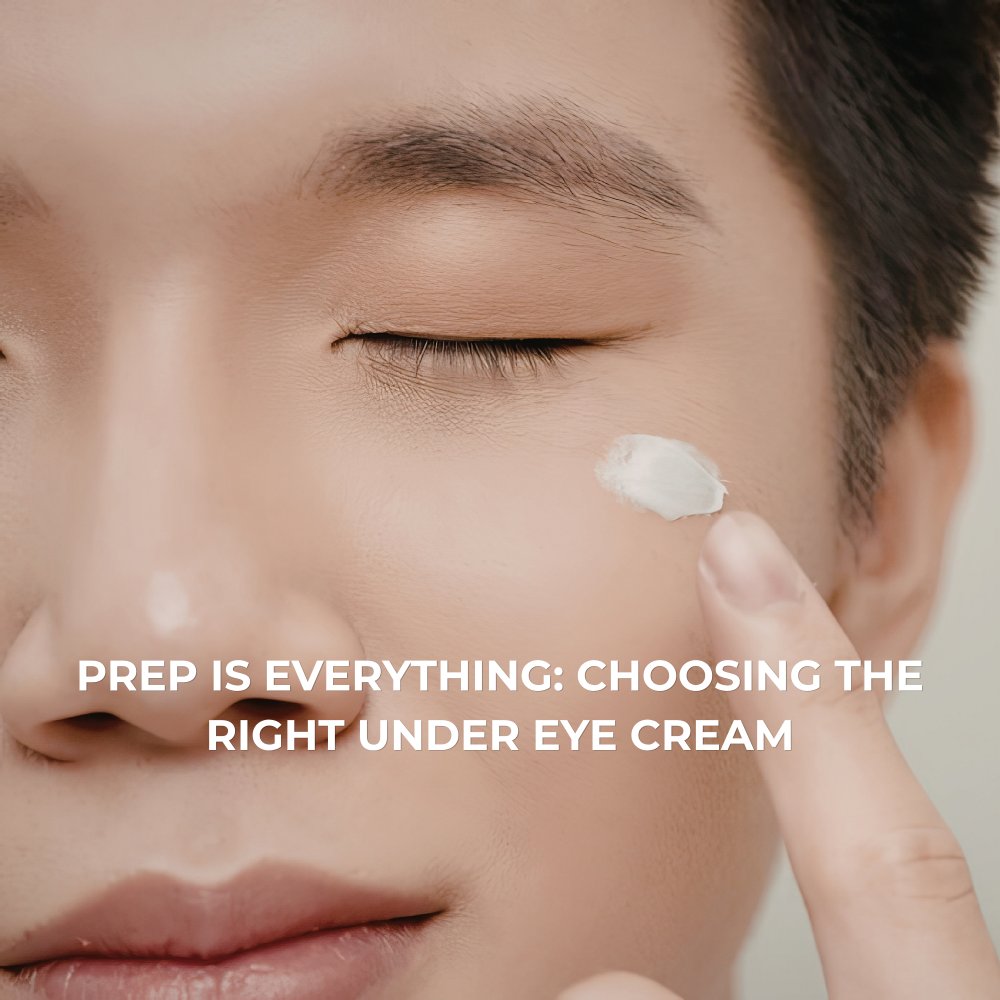
Ingredients to Look For
Think of this step as preparing the perfect base for your makeup.
Many people try to cover dark circles straight away, but correction is the real key. Applying a lighter concealer directly over darkness can create a dull grey effect instead of brightness.
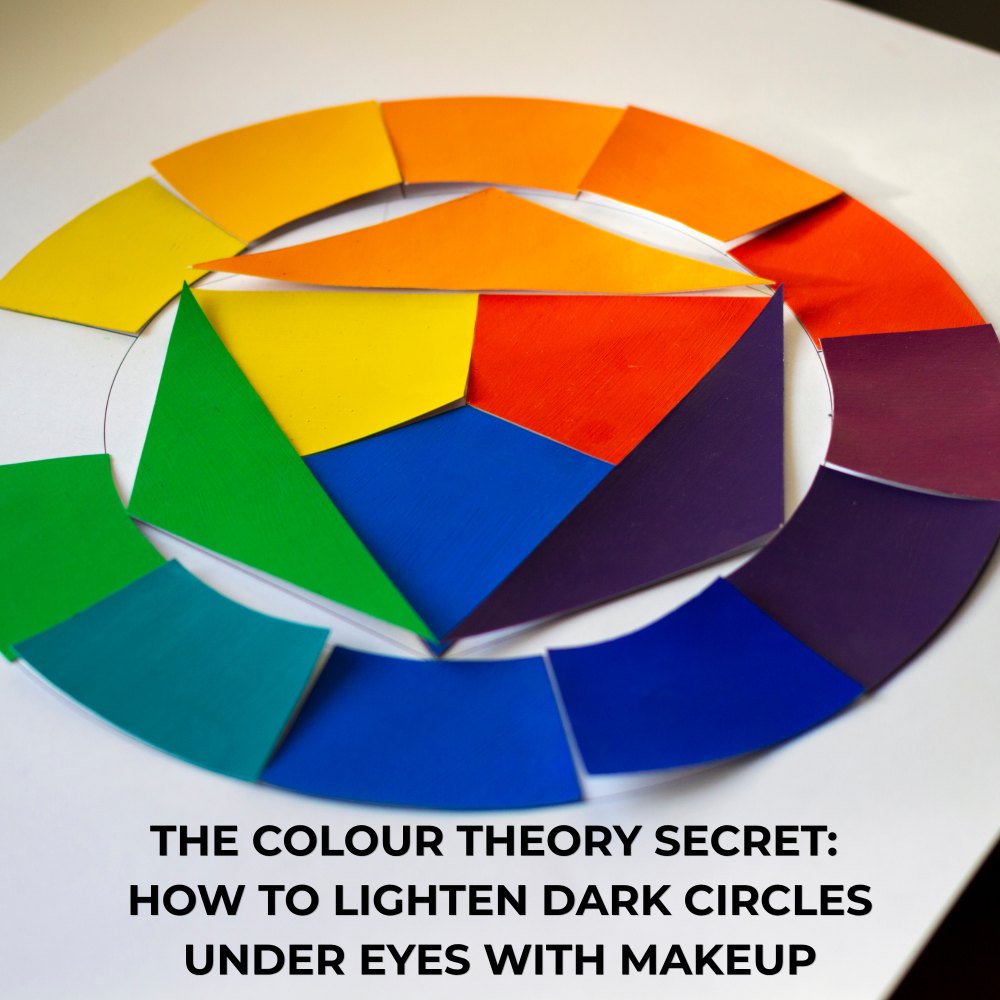
The Colour Corrector Cheat Sheet
Always correct first, then apply concealer.
Modern techniques are all about strategic placement and skin like blending. The goal is to lift, brighten, and smooth without piling on product or creating heaviness.
Instead of covering the entire under eye, focus on targeted areas that naturally create light and lift.
Apply small, controlled dots:

Less is more. Start with a small amount and only add more where needed. Thin layers blend better into the skin and look far more natural in daylight.
If you still see darkness after blending, tap a second light layer just where needed instead of reapplying everywhere.
Let your concealer sit on the skin for around 30 seconds before blending. This allows the formula to slightly thicken, giving you better coverage with less product.
It is especially helpful for more stubborn dark circles, as you get more impact without heaviness.
When blending, use gentle tapping motions rather than sweeping. Pressing the product into the skin helps maintain coverage while creating a smooth, seamless finish.
Focus on diffusing the edges so the concealer melts into your skin tone rather than sitting on top.
Each tool gives a slightly different result, and using both can elevate your finish.
Start with your finger to place and press the product, then lightly go over with a sponge to perfect the blend.
To lock everything in place, use a very small amount of finely milled powder. Focus only on areas that tend to crease.
Press the powder in gently rather than sweeping. This keeps the under eye bright while preventing the concealer from settling into fine lines.
The result is a smooth, lifted under eye that looks fresh, natural, and effortlessly bright.
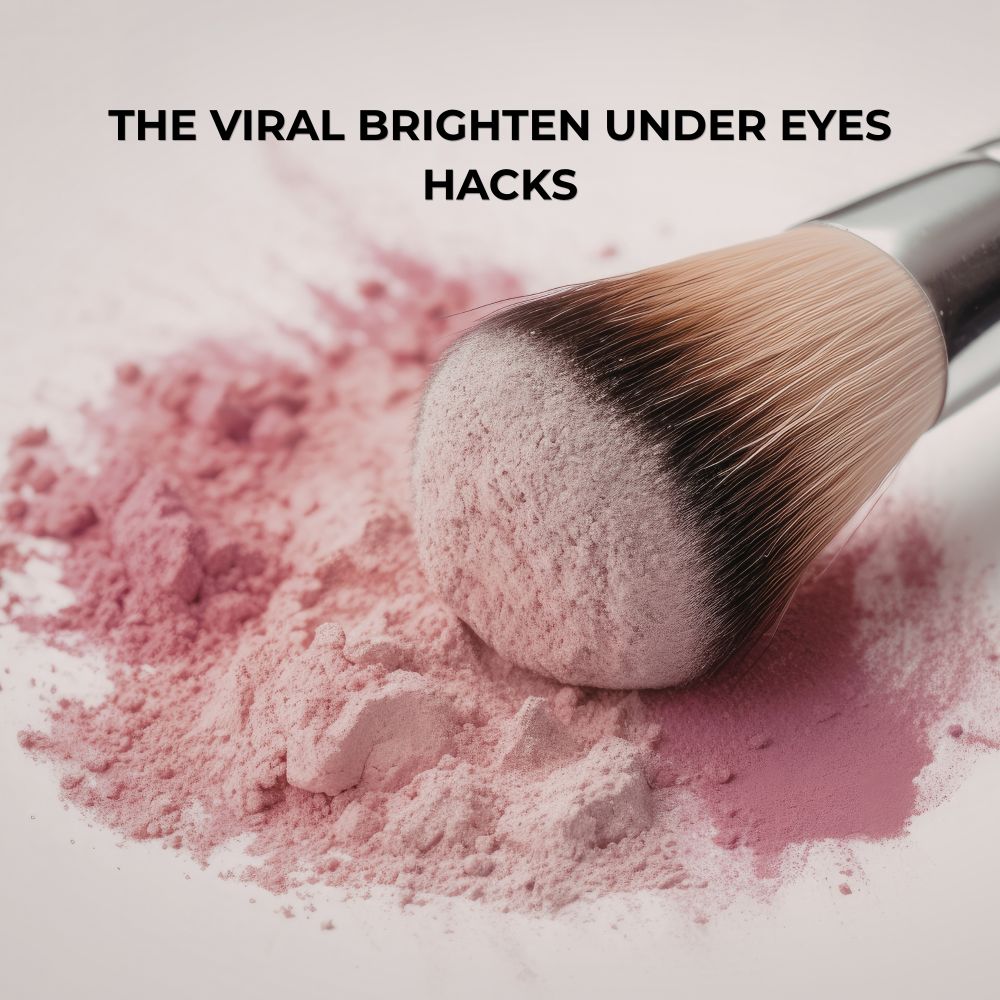
Some beauty trends come and go, but a few genuinely change the way your makeup looks in real life. These techniques are popular for a reason. They deliver a brighter, smoother under eye without looking heavy or overdone.
This is one of the easiest upgrades to your routine, and the difference is immediate. Instead of using a standard translucent powder, a soft pink toned powder adds a subtle brightening effect while setting your concealer. The pink tone helps counteract dullness and brings a natural looking freshness to the under-eye area.
To apply:
The result is a softly blurred, bright finish that still looks like skin. It is especially effective in photos and bright lighting, where under eyes can otherwise look flat.
Under painting is a technique that makeup artists have used for years, but it has recently become more popular for everyday routines. Instead of layering products on top of foundation, you apply your colour corrector first, directly onto bare skin, before applying your base.
Why it works:
How to do it:
This method creates a seamless effect where the darkness is neutralised without obvious layers of product.
If your under eyes tend to look flat or heavy, this technique adds subtle dimension while still keeping everything bright.
Instead of using one shade of concealer, you use two:
Application tip:
Blend the two shades together so there are no visible lines. This creates a soft gradient effect that mimics natural light on the face. The result is a lifted, bright under eye that looks more three dimensional and less like a block of product.
These small technique changes can completely transform how your under-eye makeup looks, giving you a finish that feels modern, effortless, and naturally radiant.
Once you have mastered how to brighten under eyes, the final step is creating balance across the entire eye area. Bright under eyes naturally draw attention, so what you pair them with matters. This is where lashes and tools come into play, enhancing the overall effect without overpowering it.
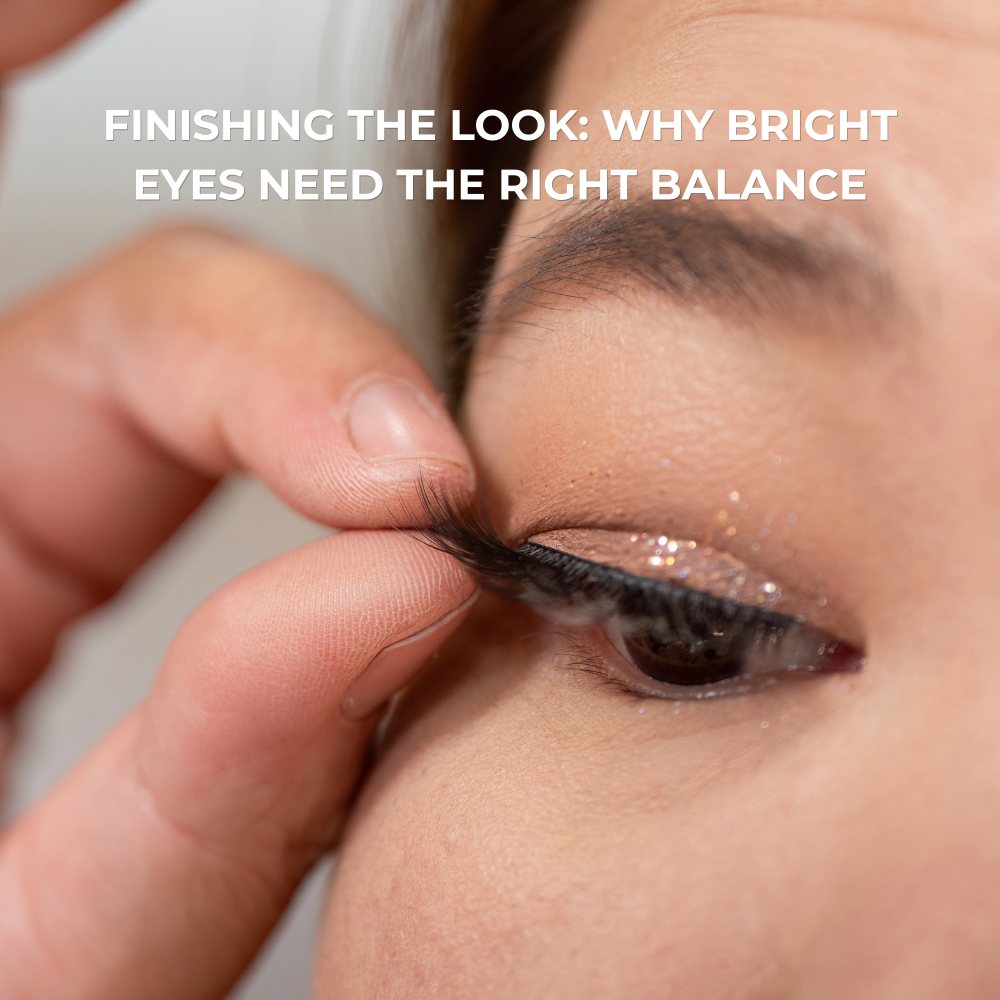
Soft, wispy lashes are ideal because they:
The key is choosing styles that feel light and fluttery rather than dense, so your under-eye work still shines through. At the same time, the tools you use can make or break the finish. A smooth, seamless blend is what keeps everything looking fresh rather than overdone.
Bright eyes are not about chasing perfection. They are about looking refreshed, confident, and put together in a way that still feels like you. With thoughtful preparation, clever colour correction, and modern concealer techniques, you can completely transform your under-eye area without relying on heavy coverage. Small changes in placement, texture, and blending make all the difference.
Refine your base with Bake Maker Makeup Sponges and perfect your blend with Gold Luxe Makeup Brushes. High quality tools help press product into the skin for a natural, skin like finish, while allowing for precise placement and soft blending exactly where you need it.
Together, they refine your technique and elevate the final result.
What are some of your favourite ways to reduce the appearance of under-eye circles? Share them in the comments below.