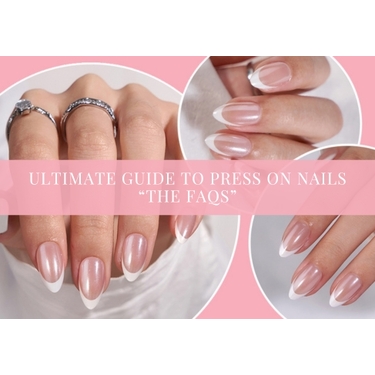
Hey Beauties! Welcome to our Ultimate Guide to Press-On Nails! Whether you're a nail art enthusiast or a busy bee looking for a quick beauty fix, this blog is here to explore the world of press-on nails and provide you with all the helpful tips and answers to your most frequently asked questions.
From chic office-ready looks to glamorous designs perfect for a night out, press-on nails offer versatility and fun for every occasion. So, let's dive in and explore how you can achieve salon-quality nails in the comfort of your own home!
KEY TAKEAWAYS
- ⚡ Press-on nails offer salon-quality results at home: They’re pre-designed, easy to apply, and damage-free alternatives to acrylics or gels—perfect for quick beauty fixes or special occasions.
- ⚡ Variety and customisation are key benefits: Available in multiple shapes (square, oval, stiletto, coffin), lengths, and designs—from nude minimalism to gem-studded glam—press-ons let you switch styles effortlessly.
- ⚡ Trimming is easy for a natural fit: Gradual trimming keeps nails looking professional and prevents damage.
- ⚡ Safe removal protects natural nails: Proper removal preserves your natural nail health.
- ⚡ Press-on longevity depends on care and adhesive type: Careful maintenance keeps your manicure fresh and secure.
- ⚡ Reusable with the right aftercare: With proper cleaning, press-ons can be reused multiple times.
- ⚡ Not fully waterproof, but water-resistant: Limited water exposure ensures durability and adhesion.
WHAT ARE PRESS-ON NAILS?
Press-on nails, a type of false nail, are pre-designed nail enhancements that can be easily applied to your natural nails using adhesive. Unlike traditional acrylics or gels, they don't require professional application or removal, making them a convenient, damage-free alternative. You can shop press-on nails in a huge range of styles, and explore the different types of press-on nails on our blog to find your perfect match. Prices shown in AUD. Ships Australia-wide.
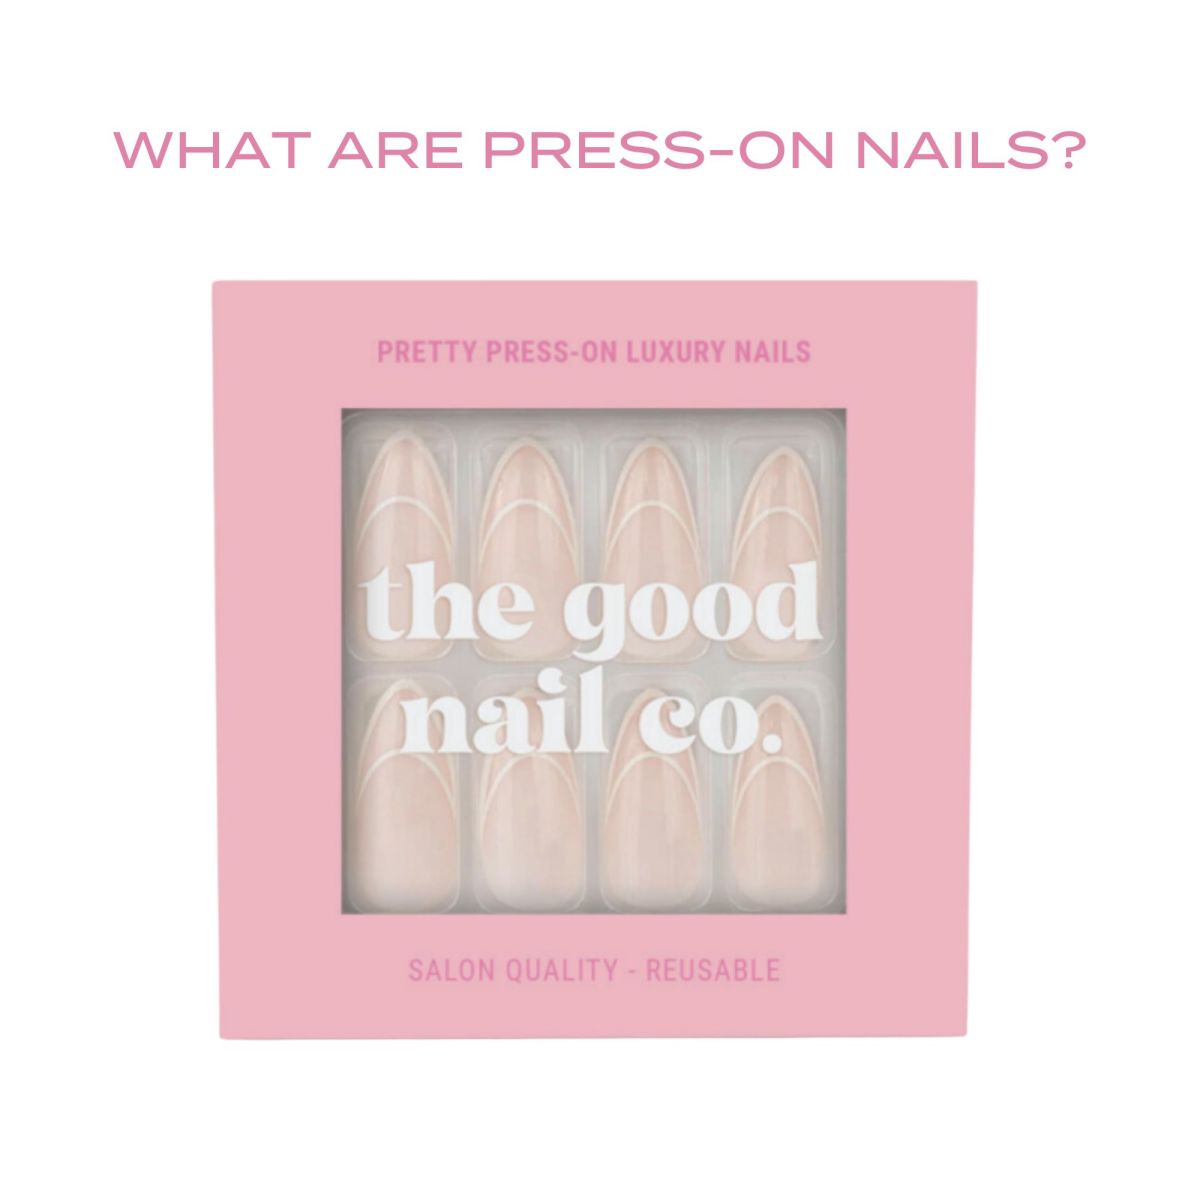
One of the standout features of press-on nails is their vast array of shapes, lengths, and designs. Whether you prefer a classic look or something more daring, there's a press-on nail set to match your style. Here are some popular options:
- Shapes: Choose from square, oval, almond, stiletto, or coffin shapes to perfectly complement your hand shape and personal style. Popular picks include short almond press-on nails and ballerina and coffin press-on nails.
- Lengths: From short and practical to long and glamorous, press-on nails are available in various lengths. Shorter nails are great for everyday wear, while longer nails can add a touch of drama to special events.
- Designs: The design possibilities are endless! You can find press-ons in solid colours, intricate patterns, glittery finishes, and even embellished with gems and decals — including glossy gel press-on nails for a salon-fresh finish.
With so many options available, you can effortlessly switch up your look, making press-on nails a fun and versatile addition to your beauty routine.
HOW TO APPLY PRESS-ON NAILS LIKE A PRO
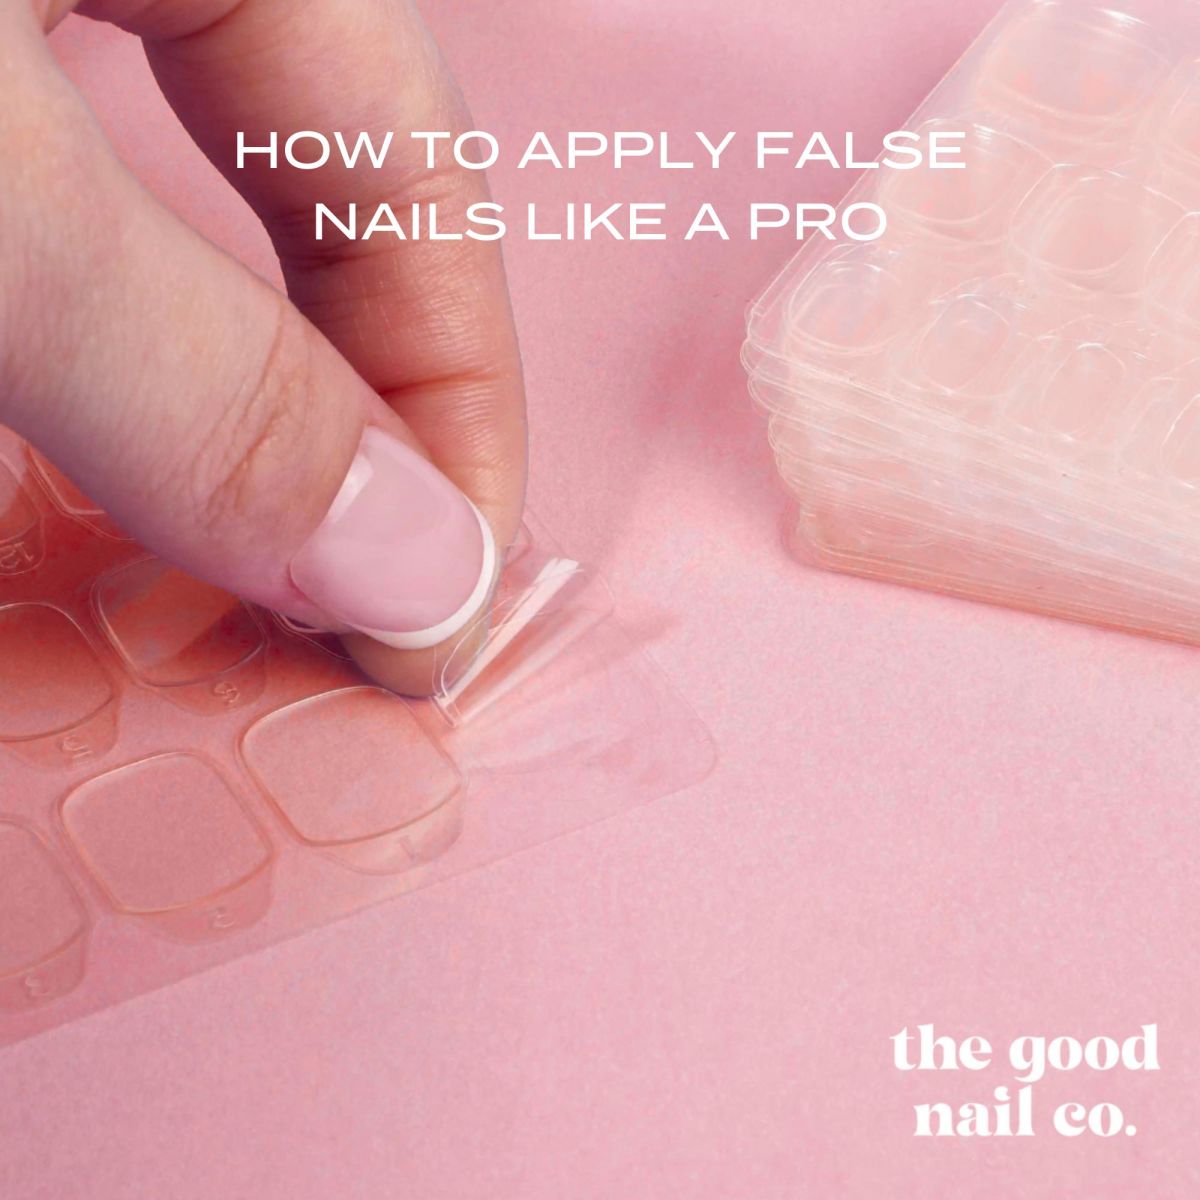
Applying press-on nails like a pro involves a few simple steps to ensure a flawless and long-lasting finish. Here's your step-by-step guide:
Step 1: Preparation
- Start with Clean, Dry Hands: Remove any old nail polish using a gentle nail polish remover. Next, cleanse your natural nails to remove any oils or debris that could affect the adhesive bond.
- File and Shape: Use a nail file to shape your natural nails and smooth out any rough edges. This helps the press-ons adhere better.
- Buff the Surface: Gently buff the surface of your nails with a nail buffer. This creates a slightly rough texture that enhances the adhesive grip.
- Push Back Cuticles: Use a cuticle pusher to gently push back your cuticles. This ensures a smooth application surface and helps the press-ons sit neatly at the base of your nails.
Step 2: Choose the Right Size
- Lay Out the Nails in Order: Lay out the false nails and match them to the size of each of your natural nails. Most press-on nail kits include a variety of sizes to ensure a good fit.
- Adjust if Necessary: If a nail is slightly too large, you can file the sides to fit perfectly. It's better to choose a slightly smaller size than one that's too big, as oversized nails can lift and come off more easily.
Step 3: Application
Now it's time to apply the nails. Depending on your preference and the kit you're using, you can opt for adhesive tabs or nail glue.
- Adhesive Tabs: If using adhesive tabs, peel off the backing and press the tab onto your natural nail. Then, remove the top protective layer and press the false nail firmly onto the adhesive tab, starting from the cuticle and pressing towards the tip.
- Nail Glue: If using nail glue, apply a small dot of glue to both your natural nail and the back of the press-on nail. Press the false nail onto your natural nail, holding it in place for 10-15 seconds to ensure a strong bond.
Step 4: Final Touches
Once all the nails are applied, you can customise them to your liking.
- File and Shape: Use a nail file to shape the edges of the press-ons to your preferred style. This step is especially useful if you need to smooth out any rough edges or adjust the length slightly.
- Optional Finishing Touch: For an extra touch of shine and protection, apply a clear topcoat. This can help seal the edges and add a glossy finish to your nails.
HOW TO TRIM PRESS-ON NAILS FOR A NATURAL LOOK
Love a press-on nail design but wish they were shorter? No problem! You can easily trim press-on nails to achieve your desired length without compromising on style. Here’s how:
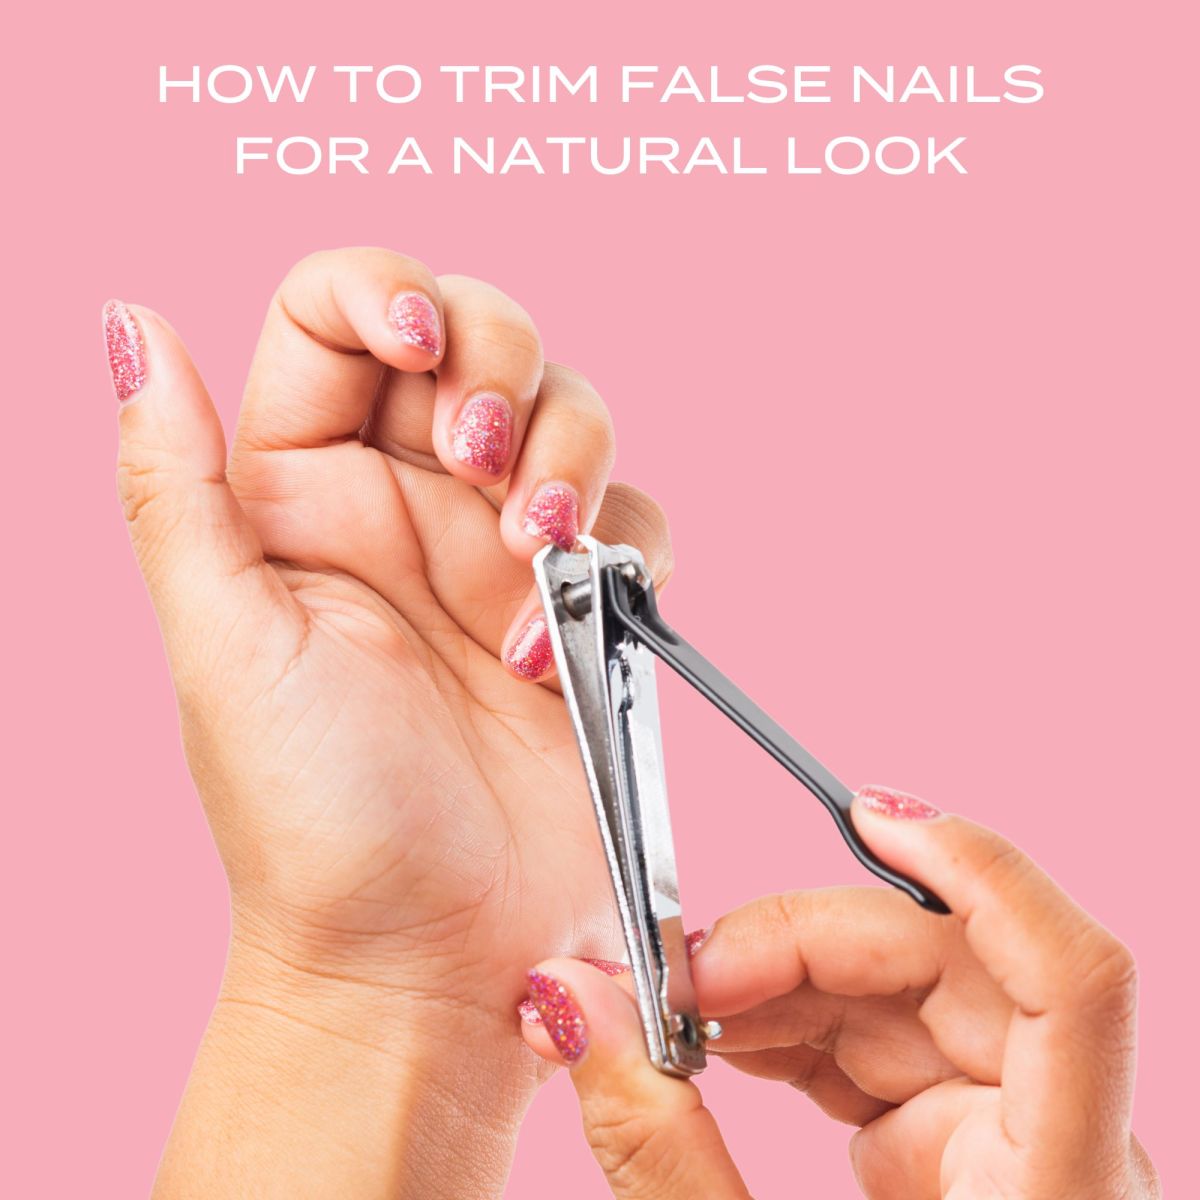
- Start Small: When trimming press-on nails, it's best to cut off less than you think you need initially. This cautious approach allows you to gradually achieve the perfect length without risking cutting too much.
- Use the Right Tools: Opt for nail clippers specifically designed for false nails. These are typically stronger and more precise than regular nail clippers, making it easier to get a clean cut.
- Trim Carefully: Hold the nail securely and trim straight across to avoid uneven edges. If you're aiming for a specific shape, such as a rounded or oval tip, make small, gradual cuts to sculpt the nail accurately.
- Smooth the Edges: After trimming, use a nail file to smooth out any rough or uneven edges. File in one direction to prevent splitting and create a polished look. This step not only perfects the shape but also prevents snagging on clothes or hair.
HOW TO REMOVE PRESS-ON NAILS SAFELY
Removing press-on nails safely is crucial to maintaining the health of your natural nails. Here's a straightforward process to ensure a gentle and effective removal:
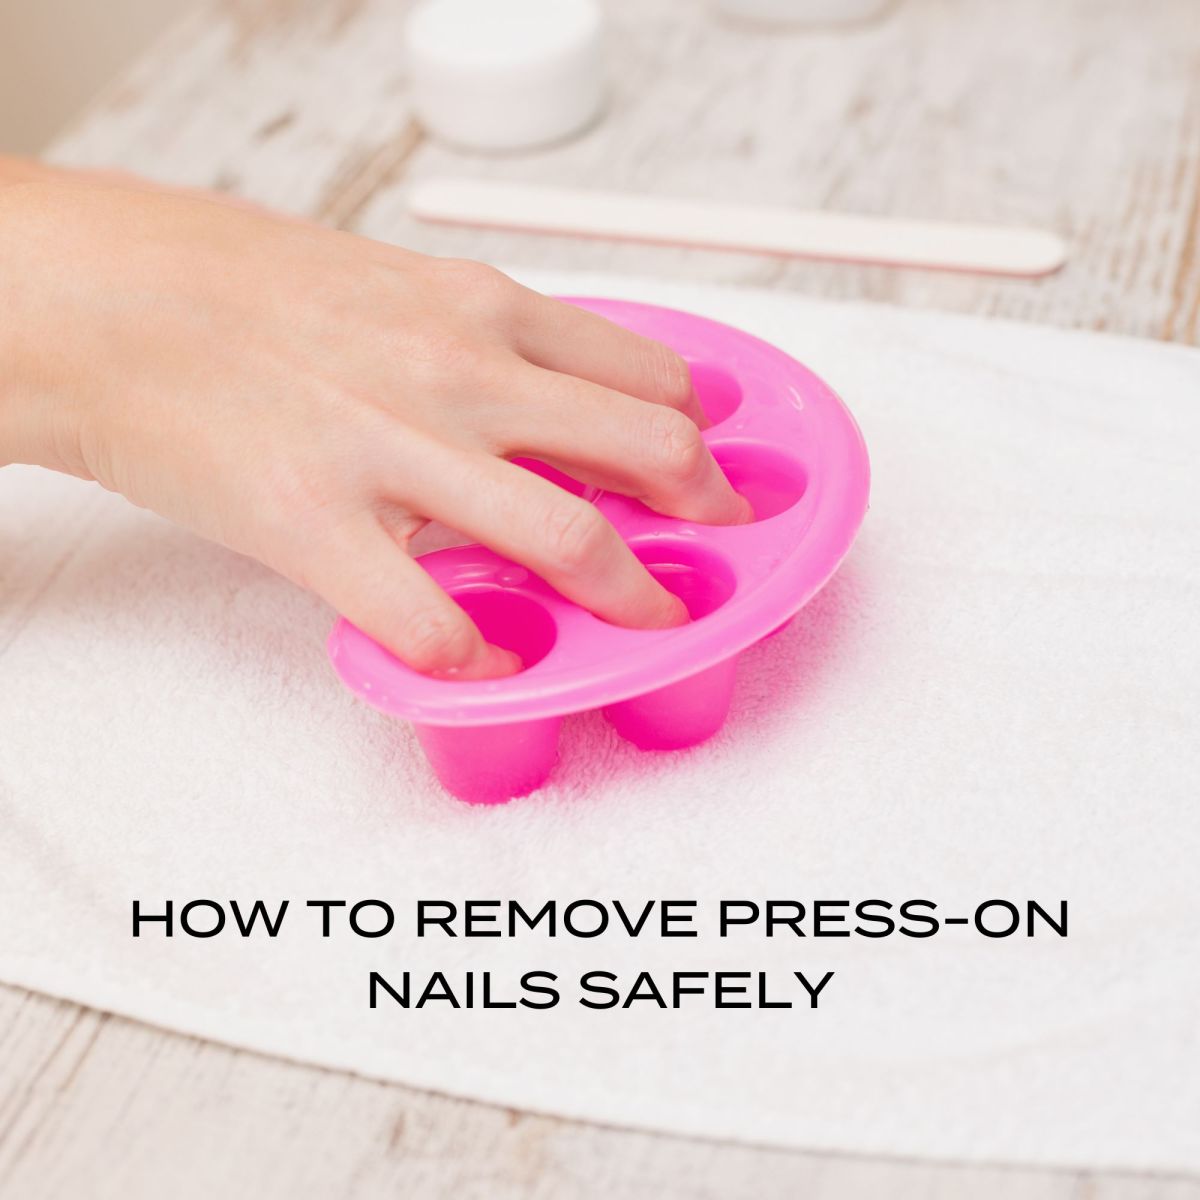
- Soak the Nails: Begin by soaking your nails in warm, soapy water for about 10-15 minutes. This helps loosen the adhesive and makes the nails easier to remove. For a quicker method, you can use acetone. Fill a small bowl with acetone and soak your nails for 5-10 minutes. This dissolves the glue more rapidly but can be harsher on your nails and skin.
- Gently Pry Off the Nails: After soaking, use a cuticle stick to gently lift and pry off the press-on nails. Start at the edges and work your way around, being careful not to force them off. If you encounter resistance, soak your nails a bit longer and try again.
- Moisturise Your Natural Nails: Once the false nails are removed, it's important to moisturise your natural nails and cuticles. Use a nourishing nail oil or a rich hand cream — you'll find both in our nail care accessories — to prevent dryness and promote nail health. Massage the moisturiser into your nails and cuticles to keep them hydrated and resilient.
FAQs ABOUT PRESS-ON NAILS
How Long Do Press-On Nails Last?
The lifespan of press-on nails can vary based on the type of adhesive used and how well you care for them.
- Stick-On Adhesive Tabs: If you use stick-on adhesive tabs, your press-on nails can last for about 2–3 days. This makes them perfect for short-term wear, such as an event or a weekend getaway.
- Nail Glue: For a longer-lasting manicure, use nail glue. Our ultimate bond nail glue can keep your press-on nails securely in place for 2 weeks or more.
- To maximise the lifespan of your press-on nails, avoid prolonged exposure to water, apply a topcoat for extra protection, and be gentle with your nails to prevent lifting or breaking.
Can You Reuse Press-On Nails?
Yes, you can reuse press-on nails with proper care. Here's how to do it:
- Removal and Storage: When removing your nails, do so gently to avoid damage. After removal, clean off any residual adhesive from the false nails using a gentle nail buffer.
- Cleaning and Sanitising: Soak the false nails in a mixture of warm water and mild soap to remove any oils and debris. For extra sanitation, dip them briefly in rubbing alcohol. Allow them to dry completely before storing.
- Storage: Store the cleaned nails in their original packaging or in a small container, keeping them in a dry, cool place to maintain their shape and quality.
Are Press-On Nails Waterproof?
They have some degree of water resistance, but they are not completely waterproof.
- Waterproof Properties: While most press-on nails can withstand occasional contact with water, prolonged exposure can weaken the adhesive bond and cause the nails to lift or come off.
- Protection Tips: To protect your nails during activities like swimming or prolonged water exposure, consider wearing gloves when doing household chores and avoid soaking your nails in water for extended periods. Applying a clear topcoat can also add a layer of protection and help maintain the integrity of the adhesive.
Can You Trim Press-On Nails?
Yes. Use strong false-nail clippers, trim small sections at a time rather than one cut, and smooth the edges with a file to prevent cracking or snagging.
How Do You Remove Press-On Nails Without Damaging Your Natural Nails?
Soak in warm soapy water or acetone for 10 to 15 minutes, then gently lift the edges with a cuticle stick. Never force them off. Follow with nail oil or cream to rehydrate.
Do Press-On Nails Damage Your Nails?
Not when applied and removed correctly. Unlike acrylics and gels, press-ons sit on the nail plate and lift off after soaking, which is why they are considered a damage-free alternative.
SHOP MODELROCK PRESS-ON NAILS
We've covered all the essential FAQs about press-on nails, from understanding their versatility and application techniques to trimming, removing, and caring for them. Now, you're empowered with the knowledge to make the best decisions for your false nail journey. Whether you need a quick beauty fix for a special event or want to maintain a long-lasting, salon-quality look, press-on nails offer a convenient and stylish solution.
Don't be afraid to experiment with different shapes, lengths, and designs to discover what suits your unique style. The world of press-on nails is vast and exciting, so have fun exploring and expressing your creativity!
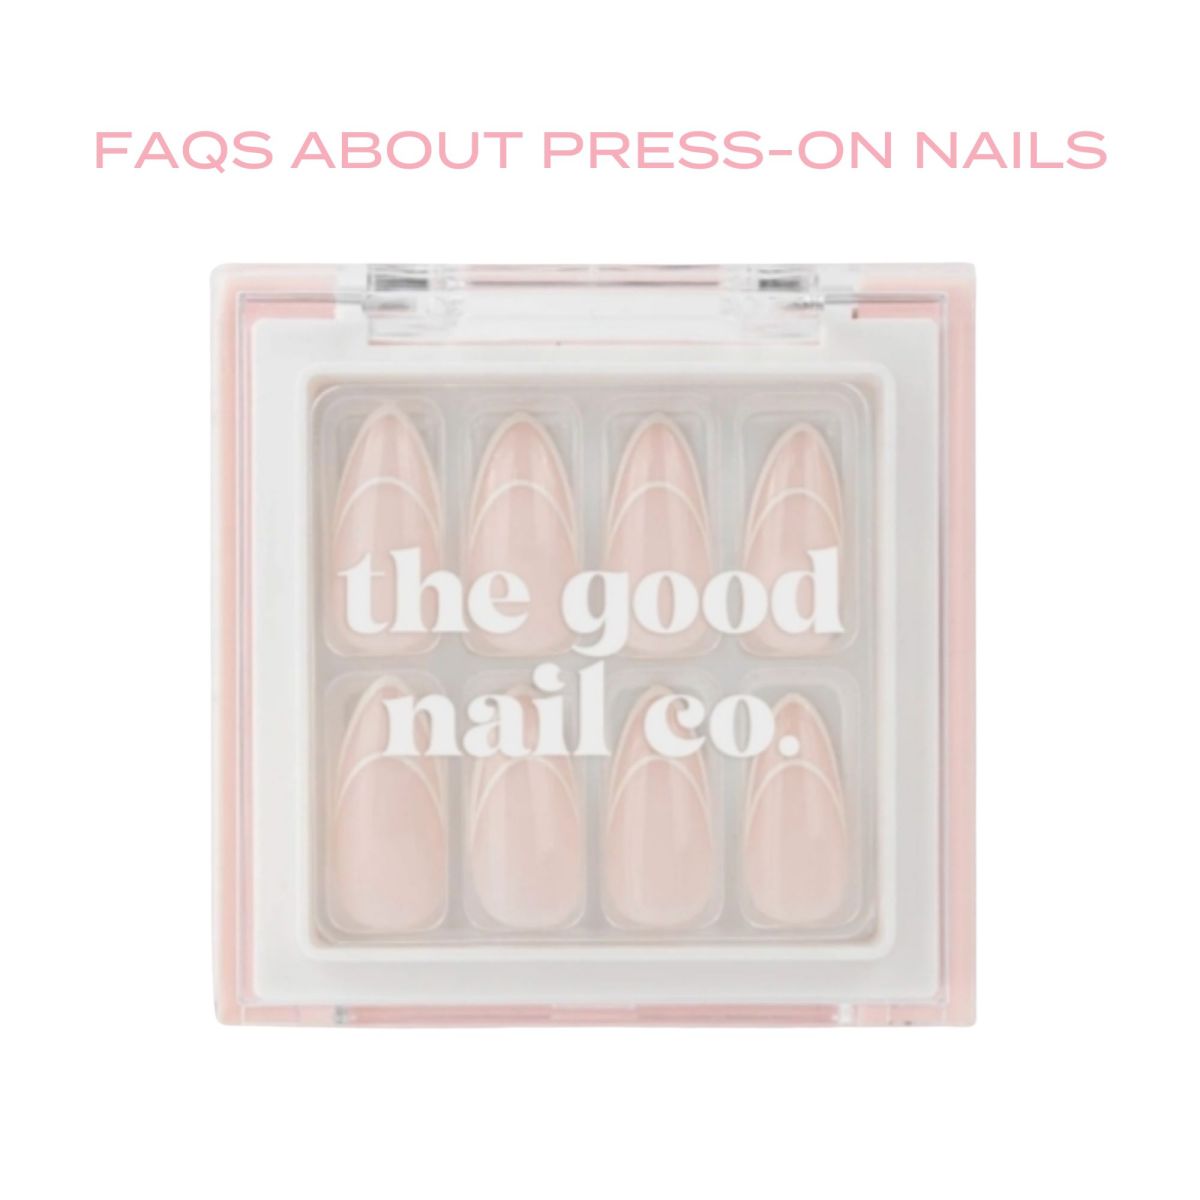
The Good Nail Co, MODELROCK's Australian sister brand, is now live. The range covers short and medium lengths across almond, oval, square, ballerina and French shapes, plus gel finishes and a travel kit, along with the nail accessories you need for application and safe removal. Everything is dispatched same day from our NSW warehouse. If you are new to press-ons, start with a short almond or short oval set — they are the most forgiving shapes to size and the least likely to catch and lift during the first few days of wear. Shop press-on nails today. Happy styling, Beauties!
RELATED GUIDES